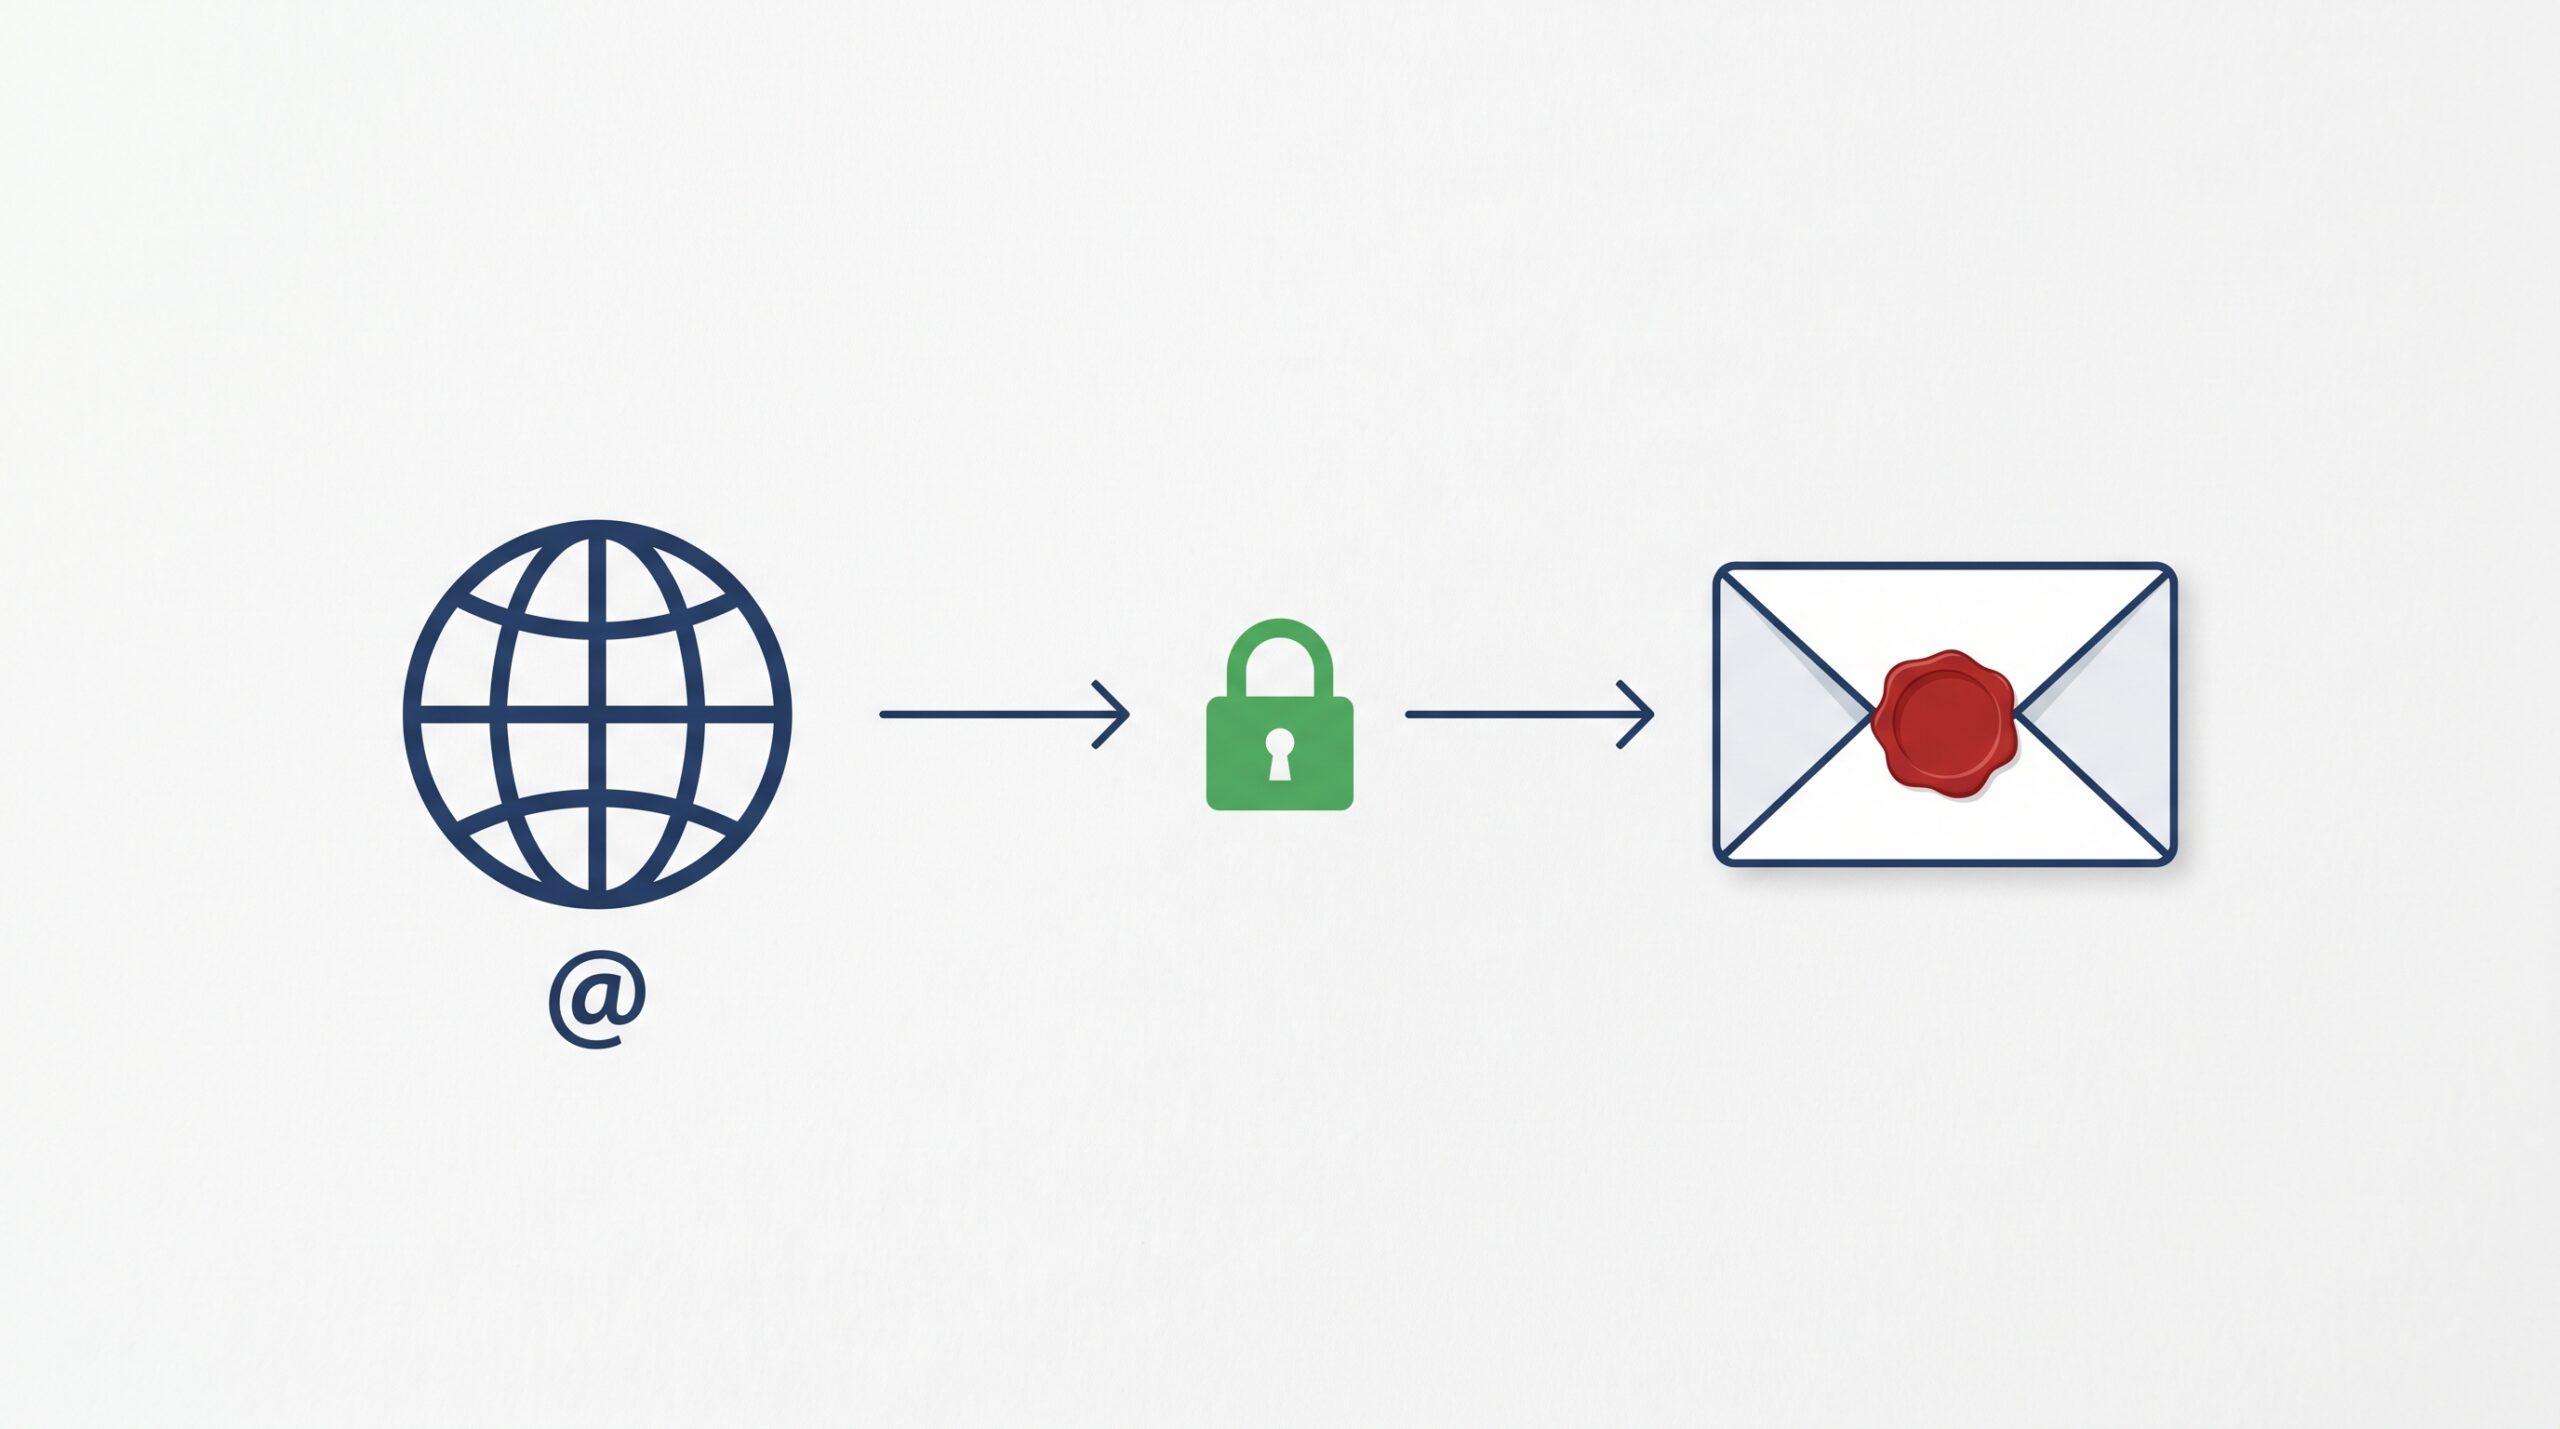
Sending emails from you@yourbusiness.com looks infinitely more professional than a Gmail address — but paying for Google Workspace just to get that vanity email feels excessive when you’re starting out. Here’s the thing: if you already have a domain and a hosting account, you can send and receive custom domain emails directly inside Gmail, completely free, using Gmail’s SMTP and POP3 settings. I’ve set this up for half a dozen clients and it works beautifully once you know the steps.
📋 Before You Start — What You’ll Need
- A registered domain name (e.g. yourbusiness.com)
- Web hosting that includes email hosting — cPanel-based hosts like Namecheap, Hostinger, or SiteGround all include this for free
- A free Gmail account at mail.google.com
- About 20–30 minutes and access to both your hosting control panel and Gmail settings
📝 Note: This method works with any host that provides SMTP and POP3 credentials — which is virtually every shared hosting plan. It does not require Google Workspace or any paid Google product.
How This Setup Actually Works
The setup has two halves. First, you create the custom email address on your hosting account. Then you connect it to Gmail in two directions: POP3 lets Gmail pull incoming emails from your custom inbox into Gmail, and SMTP lets Gmail send emails as your custom address. Together, you get a full send-and-receive experience inside a single Gmail window, with your domain address front and centre.
Step 1: Create Your Custom Email Address in cPanel
Log in to your hosting account and open cPanel. The exact URL is usually yourdomain.com/cpanel or accessible from your hosting dashboard. Once inside:
- Scroll to the Email section and click Email Accounts.
- Click Create. Enter the username you want (e.g. hello for hello@yourdomain.com), set a strong password, and leave the mailbox quota at the default or set it to 1000 MB.
- Click Create again to confirm. Your email address now exists.
- Go back to the Email Accounts list, find your new address, and click Connect Devices. This page shows you the SMTP and POP3 server details you’ll need in the next steps. Keep this tab open.
💡 Tip: Write down or screenshot the following from the Connect Devices page: Incoming Server (POP3) hostname and port, Outgoing Server (SMTP) hostname and port, and your full email address and password. You’ll enter these into Gmail in the next two steps.
Step 2: Add Your Custom Email to Gmail via POP3 (Receiving)
This step connects Gmail to your hosting mailbox so incoming emails flow into Gmail automatically.
- In Gmail, click the gear icon (⚙️) → See all settings.
- Click the Accounts and Import tab.
- Find “Check mail from other accounts” and click Add a mail account.
- Enter your custom email address (e.g. hello@yourdomain.com) and click Next.
- Select Import emails from my other account (POP3) and click Next.
- Fill in the POP3 details from your cPanel Connect Devices page:
- Username: your full custom email address
- Password: the email account password you set in cPanel
- POP Server: the incoming server hostname from cPanel (usually mail.yourdomain.com)
- Port: 995 (with SSL) — always prefer this over port 110
- Check “Always use a secure connection (SSL)”
- Optionally check “Label incoming messages” so emails from your custom domain are visually tagged inside Gmail — I always enable this to keep things organised.
- Click Add Account. Gmail will verify the connection and start checking your mailbox every 30–60 minutes.
⚠️ Warning: If the connection fails, the most common cause is the wrong port or SSL setting. Confirm your cPanel Connect Devices page shows port 995 for POP3 with SSL. If your host uses a different port, use whatever cPanel specifies — don’t assume 995.
Step 3: Add Your Custom Email as a Send-As Address via SMTP (Sending)
This is the part that makes Gmail send emails from your custom domain. After clicking Add Account in Step 2, Gmail will ask if you want to be able to send mail as your custom address. Click Yes, I want to be able to send mail as hello@yourdomain.com and click Next Step. If you skipped that prompt, go back to Settings → Accounts and Import and click Add another email address under “Send mail as.”
- Enter your name and custom email address. Leave “Treat as an alias” unchecked if this is a business address you want clearly separated from your personal Gmail identity. Click Next Step.
- Enter your SMTP details from cPanel:
- SMTP Server: the outgoing server hostname (usually mail.yourdomain.com)
- Port: 465 with SSL, or 587 with TLS — either works, but 465 is slightly more reliable in my experience
- Username: your full custom email address
- Password: the same cPanel email password
- Select Secured connection using SSL if using port 465
- Click Add Account. Gmail sends a verification email to your custom address.
- Because you’ve already set up POP3, that verification email will arrive in your Gmail inbox within a minute or two (pulled from your custom mailbox automatically). Open it and click the confirmation link, or copy the verification code and paste it into the Gmail dialog.
💡 Tip: After verification, go back to Settings → Accounts and Import → Send mail as and click make default next to your custom address. This makes Gmail use your custom domain address for all new emails automatically, so you don’t have to select it from the From dropdown every time.
Step 4: Test the Full Send and Receive Flow
Don’t skip this. Send a test email from your custom address to another email account you control — a personal email, a colleague’s address, anything. Confirm the From field shows your custom domain address, not your Gmail address. Then reply from that external account and wait for the reply to land in Gmail via POP3 (can take up to 60 minutes for the first poll, but usually much faster).
If both directions work, you’re done. Your Gmail inbox is now a fully functional custom domain email client.
📝 Note: Gmail’s POP3 check runs every 30–60 minutes by default. If you need faster delivery, consider forwarding your custom domain email to your Gmail address from within cPanel — go to Email → Forwarders, add a forwarder from your custom address to your Gmail address, and incoming emails will arrive instantly. You can run both POP3 and forwarding simultaneously.
🚀 Pro Tips & Common Mistakes to Avoid
- Use an email forwarder alongside POP3 for instant delivery. POP3 polling has a delay. Forwarding from cPanel to Gmail delivers emails instantly. Set up both — forwarding handles speed, POP3 acts as a backup and keeps a copy on the hosting server.
- Don’t use your hosting account’s webmail as your primary inbox. Once Gmail is connected, treat the hosting webmail (Roundcube, Horde, etc.) as a technical backup only. Managing two inboxes is confusing and unnecessary.
- This method has a daily sending limit. Gmail caps SMTP-relayed emails at around 500 per day for free accounts. That’s fine for personal and small business use, but if you’re sending newsletters or bulk email, you’ll need a dedicated email service like Mailchimp or SendGrid.
- Check your SPF and DKIM records. Most cPanel hosts auto-generate these DNS records, but verify them. Without SPF and DKIM, your outgoing emails may land in spam. In cPanel, go to Email → Email Deliverability and click Repair if anything shows as invalid.
- If Gmail keeps asking you to re-enter your password, check for a hosting firewall block. Some hosts block repeated SMTP connections from external IPs (like Google’s servers) as a spam precaution. Contact your host’s support and ask them to whitelist Google’s outbound mail IPs for your account.
⚡ Quick Reference: Settings Cheat Sheet
| Setting | Value |
|---|---|
| POP3 Server | mail.yourdomain.com |
| POP3 Port | 995 (SSL) |
| SMTP Server | mail.yourdomain.com |
| SMTP Port | 465 (SSL) or 587 (TLS) |
| Username | Full email address (hello@yourdomain.com) |
| Password | Your cPanel email account password |
Your Custom Domain Email, Inside Gmail — For Free
That’s everything. Once POP3 and SMTP are both connected and verified, your Gmail account sends and receives email as your custom domain address — with no Google Workspace subscription, no monthly fee, and no separate inbox to manage. For freelancers, small businesses, and anyone who wants a professional email presence without the overhead, this setup is hard to beat.
Once you’re up and running, I’d recommend setting up an email signature in Gmail that reflects your brand — go to Settings → General → Signature and create one specifically for your custom domain address. It’s the finishing touch that makes the whole setup look completely polished.