| 📅 Updated May 2026 | ⏱ 7 min read | 🖨 Print Design |
You’ve finished designing a flyer, business card, or brochure — it looks perfect on screen — and then the printer comes back asking for a PDF with bleed. If you’ve never heard that term before, it sounds more complicated than it is. Bleed is one of those things that takes two minutes to understand and saves you from reprints forever.
Here’s exactly what bleed in a PDF means, why every print shop requires it, and how to set it up correctly so your files get approved first time.
What Is a Bleed in a PDF?
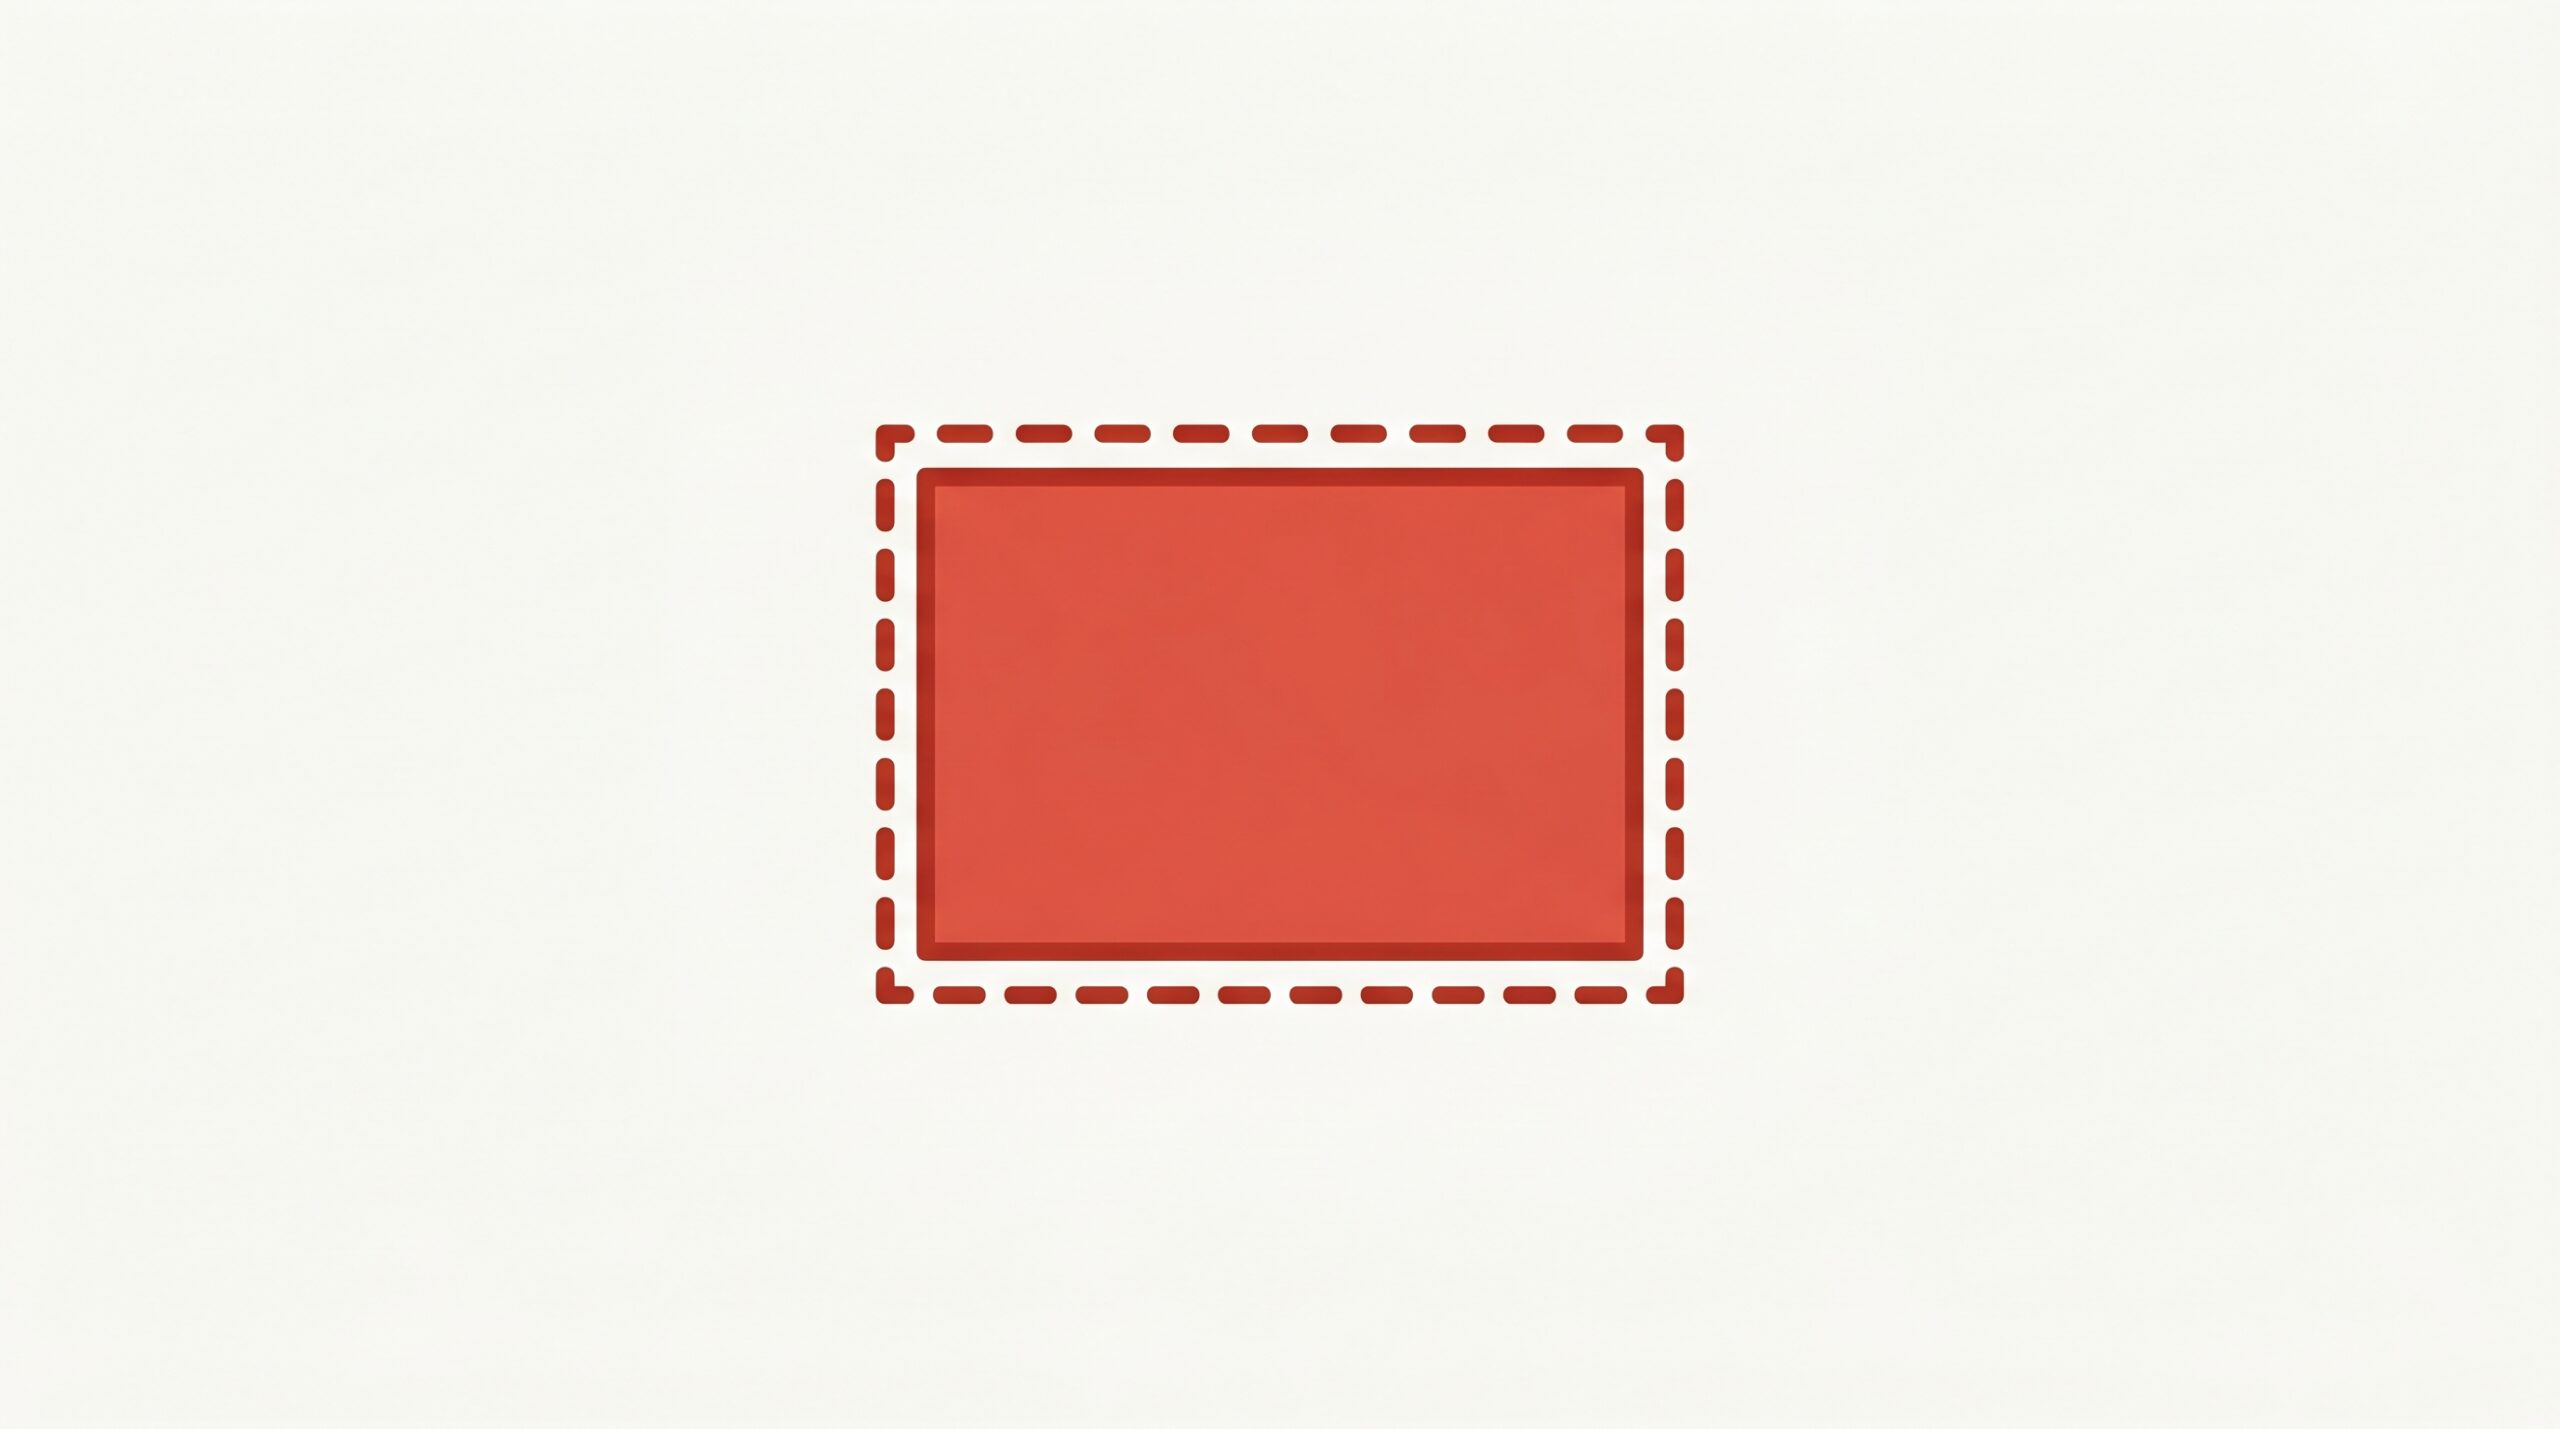
A bleed is a strip of extra artwork that extends beyond the intended final edge of your printed piece. It’s not part of the finished design — it’s a safety margin that gets trimmed off after printing. The standard bleed size is 3mm (0.125 inches) on all four sides, though some large-format printers ask for up to 5mm.
Think of it this way: printing machines cut thousands of sheets at high speed. No cutting machine is perfectly precise every single time — there’s always a tiny amount of variance, usually a millimetre or two. If your background colour or image ends exactly at the edge of the page, that variance creates a thin white sliver along one or more edges. It looks unprofessional and means the whole batch needs reprinting.
Bleed solves this by extending the design slightly beyond where the cut will happen. Even if the cut lands a couple of millimetres off, it’s still cutting through printed artwork — so there’s no white edge visible on the finished product.
The Three Zones of a Print File
| Bleed Area 3mm beyond the trim edge. Gets cut off. Background and images must extend into this zone. |
Trim Line The intended final edge of the printed piece. Where the cutter aims to cut. |
Safe Zone 3mm inside the trim line. Keep all text and important elements inside this zone. |
Why Printers Require a Bleed in Your PDF
Print shops aren’t being awkward — they’re protecting you from a bad result. Commercial printers run offset or digital presses that print many copies at once on large sheets, then cut them down to size in batches. The cutting tolerance on a guillotine or die-cutter is typically ±1–2mm. That’s unavoidable with physical machinery.
When a printer tells you your file was rejected for missing bleed, what they mean is: your background or edge elements don’t extend far enough past the cut line. If they print it anyway, some copies in the batch will show white edges. They’d rather flag it upfront than deliver a product you’ll complain about.
| 📝 | Note Not all print files need bleed. If your design has a white background and no elements touching the edges — like a text-only document or an invoice — bleed is unnecessary. Bleed only matters when your design has colour, images, or patterns that go right to the edge of the page. |
Standard Bleed Sizes by Print Type
Different print products have slightly different bleed requirements. Here’s a quick reference:
| 💡 | Tip When in doubt, check your print supplier’s spec sheet before you start designing — not after. Vistaprint, Moo, Canva Print, and most trade printers publish their bleed requirements in their file upload guidelines. Setting the document up right from the start is infinitely easier than adding bleed retroactively. |
How to Add Bleed to Your PDF — by Software
Bleed is set at the document level, before you export. Here’s how to do it in the most common design tools:
Adobe InDesign
Go to File → Document Setup and enter 3mm in all four bleed fields. When exporting, go to File → Export → Adobe PDF (Print), click the Marks and Bleeds tab, and check Use Document Bleed Settings. This is the most reliable workflow — InDesign was built for print.
Adobe Illustrator
Set bleed during new document creation under More Settings → Bleed, or add it later via File → Document Setup → Bleed. When saving as PDF, choose File → Save a Copy → Adobe PDF, go to the Marks and Bleeds section, and check Use Document Bleed Settings.
Canva
Canva handles this for you. When downloading, go to Share → Download → PDF Print and check the “Crop marks and bleed” option. Canva automatically adds 3mm bleed and crop marks. Just make sure your background elements extend to the edge of your design canvas, or you’ll still get white edges.
Affinity Publisher / Designer
Go to File → Document Setup → Bleed and set all four sides to 3mm. When exporting, choose File → Export → PDF (for print) and enable Include Bleed in the export options.
| ⚠️ | Warning Setting bleed in your export settings does nothing if your actual artwork doesn’t extend into the bleed zone. You need to physically stretch backgrounds, images, and edge elements 3mm beyond the trim line inside your design. Bleed settings just tell the PDF where the trim line is — they don’t magically extend your artwork. |
Common Mistakes to Avoid
|
📏
Artwork Stops at the Trim Edge The most common mistake. Extend all backgrounds, photos, and coloured shapes 3mm past the trim line — not just to it. |
🔤
Text Too Close to the Edge Keep all text and logos at least 3–5mm inside the trim line (the safe zone). Text near the edge risks being cut off. |
|
🖨️
Exporting as RGB Instead of CMYK Commercial printers use CMYK inks. RGB files look fine on screen but colours shift when converted at the press. Set your document colour mode to CMYK before you start designing. |
📐
Wrong Bleed Size for the Product 3mm is standard for most products, but large format and packaging often require more. Always check the printer’s spec sheet — don’t assume. |
📋 Quick Recap
- Bleed is extra artwork extending 3mm beyond the trim line — it gets cut off after printing
- Why it’s needed: cutting machines have a ±1–2mm variance; bleed prevents white edges on the finished piece
- Standard size: 3mm (0.125″) for most print products; more for large format
- Safe zone: keep text and logos at least 3mm inside the trim line
- Set it up: in InDesign, Illustrator, Canva, or Affinity — bleed is configured in Document Setup and confirmed on export
- Critical: artwork must physically extend into the bleed zone — export settings alone don’t stretch your design
Set It Up Once, Get It Right Every Time
Bleed is one of those concepts that seems technical until you understand what it’s actually solving — a mechanical problem with a simple design solution. Once you build the habit of setting up bleed from the start of every print project, file rejections become a thing of the past.
The golden rule I follow: set up the document at the correct size with 3mm bleed before touching any design elements. That way, everything you create is already in the right position, and your export is clean without any last-minute scrambling.
If your next step is preparing a full print-ready PDF, you’ll also want to look at crop marks, colour profiles (CMYK vs RGB), and image resolution (300 DPI minimum) — the three other pillars of a properly prepared print file.