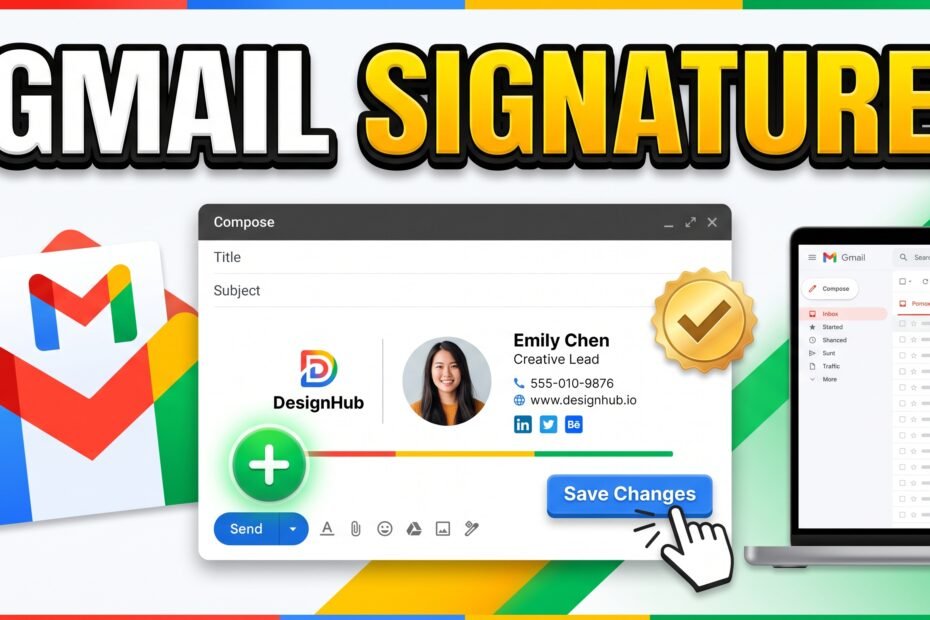
You know that moment when you send an important email and it just… ends? No name, no title, no way for the person to call you back. I used to do this constantly until a client mentioned, half-joking, that my emails looked like they came from a ghost. Setting up a proper Gmail email signature takes about ten minutes, and once it’s done, you never have to think about it again.
Step 1: Open Gmail’s Signature Settings
Log into Gmail on desktop (this is much easier on desktop than mobile, so start there even if you also want a mobile signature). Click the gear icon in the top-right corner, then click See all settings. You’ll land on the General tab, which is exactly where you want to be. Scroll down until you see the Signature section — it’s roughly a third of the way down the page.
Step 2: Create and Write Your Signature
Click Create new. Gmail will ask you to name the signature — this name is just for your own reference (useful if you end up making a few variants), so something like “Main” or “Work” is fine. Click Create and a text box will open up.
Start simple. In my experience, the signatures that actually look professional are the restrained ones. A solid structure looks like this:
- Full name (bold, slightly larger)
- Job title and company
- Phone number
- One or two relevant links (website, LinkedIn, or a portfolio)
Type this directly into the signature box. Don’t paste it in from Word or Google Docs — pasted formatting brings along hidden styling that can make your signature look inconsistent across different email clients. Type it fresh, then format it using Gmail’s own toolbar.
Step 3: Format Text and Add a Logo or Photo
Highlight your name and use the formatting toolbar just above the text box to make it bold and bump the font size up one level. Keep the rest of the text at the default size — the goal is a visual hierarchy, not a wall of bold text.
To add a logo or headshot, click the small image icon in the toolbar (it sits near the link icon). You can either upload an image directly or insert one via a web address. I always recommend uploading rather than linking to a web address, because if that external image ever gets deleted or moved, your signature ends up with a broken image icon in every email you send.
Once it’s inserted, click the image and use the small resize handle to scale it down. A width of roughly 80–120 pixels is the sweet spot — big enough to be recognizable, small enough that it doesn’t dominate the email.
Step 4: Add Clickable Links
To turn text into a clickable link, highlight the word or phrase — say, your company name — and click the link icon (it looks like a chain link) in the toolbar. Paste in the full URL, including the https:// at the start, and click OK.
This is also where you’d link a phone number or a scheduling tool like Calendly if you use one. I’d stick to two links maximum. Every additional link past that starts to look like a spam signature, and honestly, most people only ever click one of them anyway.
Step 5: Set Signature Defaults
Scroll down slightly to the Signature defaults section. Here you’ll see two dropdown menus: one for new emails and one for replies/forwards. Select your signature in both if you want it to appear consistently, or leave the replies/forwards dropdown set to “No signature” if you’d rather keep long email threads shorter and less cluttered.
Once you’ve made your selections, scroll all the way to the bottom of the settings page and click Save Changes. This step trips up a lot of people — everything looks saved, but if you navigate away without clicking that button, none of it sticks.
Step 6: Set Up Your Mobile Signature
Here’s something that surprises a lot of people: your desktop signature does not carry over to the Gmail mobile app. It has its own separate setting, and it only supports plain text — no images, no formatting, no clickable links.
Open the Gmail app, tap the three-line menu in the top-left, scroll down and tap Settings, then select the account you want to update. Tap Mobile Signature and type in a shorter, plain-text version — your name, title, and phone number is usually enough. Anything longer just gets lost when someone’s reading email on a small screen anyway.
Pro Tips and Common Mistakes to Avoid
Wrapping Up
That’s really all there is to it. You’ve got a clean, clickable signature set up on desktop, a short plain-text version on mobile, and one less thing to think about every time you hit send. If you manage a shared inbox or a small team, the same steps work for setting up consistent signatures across everyone’s account — you’ll just want to repeat this process (or use a Workspace admin template) for each person involved.