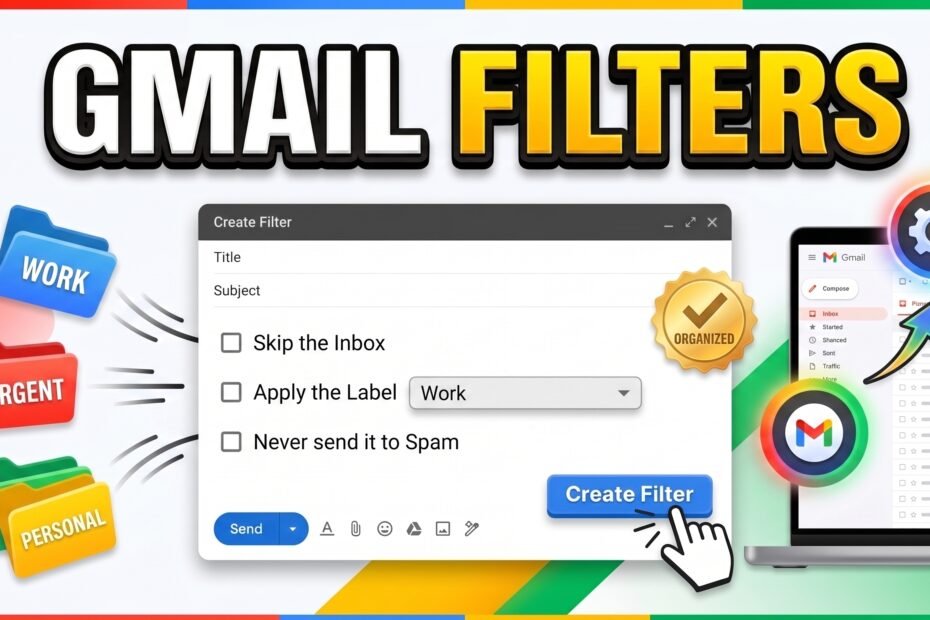
If your inbox is a mix of client emails, newsletters, receipts, and the occasional urgent message buried three scrolls down, you don’t have an email problem — you have a sorting problem. I ran my inbox manually for years before I finally set up Gmail filters, and it’s one of those changes where you immediately wonder why you waited so long.
Step 1: Open the Filter Search Tool
There are two ways to start building a filter, and I’d recommend the first one because it lets you build off a real email you’re already looking at. Open any email, click the three-dot menu in the top-right of the message, and select Filter messages like this. Gmail will pre-fill the sender field for you.
The second way works better if you’re starting from scratch: click the small slider icon at the right edge of the main search bar (it sits right next to the search field itself). That opens the full filter search form directly, no email required.
Step 2: Define Your Filter Criteria
This is the form where you tell Gmail what to look for. You don’t need to fill in every field — one or two well-chosen ones is usually enough. The fields that matter most:
- From: catches everything from a specific sender or domain (type
@company.comto grab an entire organization, not just one address) - Subject: useful for recurring automated emails with a consistent subject line, like invoices or shipping confirmations
- Has the words: searches the full body text, handy for catching phrases a sender field alone would miss
- Doesn’t have: lets you exclude certain emails from an otherwise broad rule, so you don’t accidentally sweep something important into a folder you rarely check
Once you’ve filled in a field or two, click Search at the bottom of the form. Gmail will show you a live preview of matching emails in your inbox right now — this step is worth taking seriously. If the results look wrong or too broad, adjust the criteria before moving on.
Step 3: Choose What the Filter Does
Once the preview looks right, click Create filter. This opens a second panel with checkboxes for actions. You can select more than one at a time. The ones I use most:
- Skip the Inbox (Archive it): the email still arrives and gets labeled, it just won’t clutter your main inbox view
- Apply the label: sorts the email into a folder-like label you choose or create on the spot
- Mark as read: good for low-priority automated emails you don’t need to be notified about
- Star it: flags genuinely important senders so they stand out even inside a busy label
There’s also a checkbox at the bottom: Also apply filter to matching conversations. Check this if you want the filter to reach backward and organize emails already sitting in your inbox, not just future ones. Click Create filter again to finish.
Step 4: Create Labels and Color-Code Them
Labels are what make filters actually useful day-to-day — they’re Gmail’s version of folders, except an email can carry more than one at once. If you didn’t create a label while setting up your filter, you can add one anytime: scroll down the left sidebar, click More, then Create new label.
To color-code a label, hover over it in the sidebar, click the three-dot menu that appears, and choose Label color. I use color purely as a visual anchor — clients in blue, finance in green, newsletters in grey — so I can tell what’s in my inbox at a glance before reading a single subject line.
Step 5: Useful Filter Recipes to Copy
A few combinations that cover most of what people actually need:
| Goal | Criteria | Action |
|---|---|---|
| Sort newsletters out of the inbox | Has the words: unsubscribe | Skip Inbox, apply label “Newsletters” |
| Track all receipts in one place | Subject: receipt OR invoice OR order confirmed | Apply label “Receipts”, mark as read |
| Never miss a specific client | From: client@theircompany.com | Star it, apply label, never send to spam |
| Silence internal notification noise | From: notifications@toolname.com | Skip Inbox, apply label, mark as read |
Step 6: Edit, Export, or Delete Filters
To see every filter you’ve built, go back to Settings (gear icon, then See all settings) and click the Filters and Blocked Addresses tab. Every rule you’ve created is listed here with an edit and delete link next to it.
If you’re setting up a new computer or helping a teammate replicate your setup, select the checkboxes next to the filters you want and click Export. Gmail downloads an XML file that can be re-imported from that same tab using the Import filters button — genuinely faster than rebuilding a dozen rules by hand.
Pro Tips and Common Mistakes to Avoid
Wrapping Up
Once your filters are set up, your inbox starts doing the sorting for you instead of the other way around — receipts land in one place, newsletters stop competing for your attention, and the emails that actually need a response are the ones you see first. It’s worth spending twenty minutes building out four or five solid filters now rather than manually sorting the same types of emails for months on end. And if you haven’t set up your Gmail signature yet, that’s a natural next step once your inbox is under control.