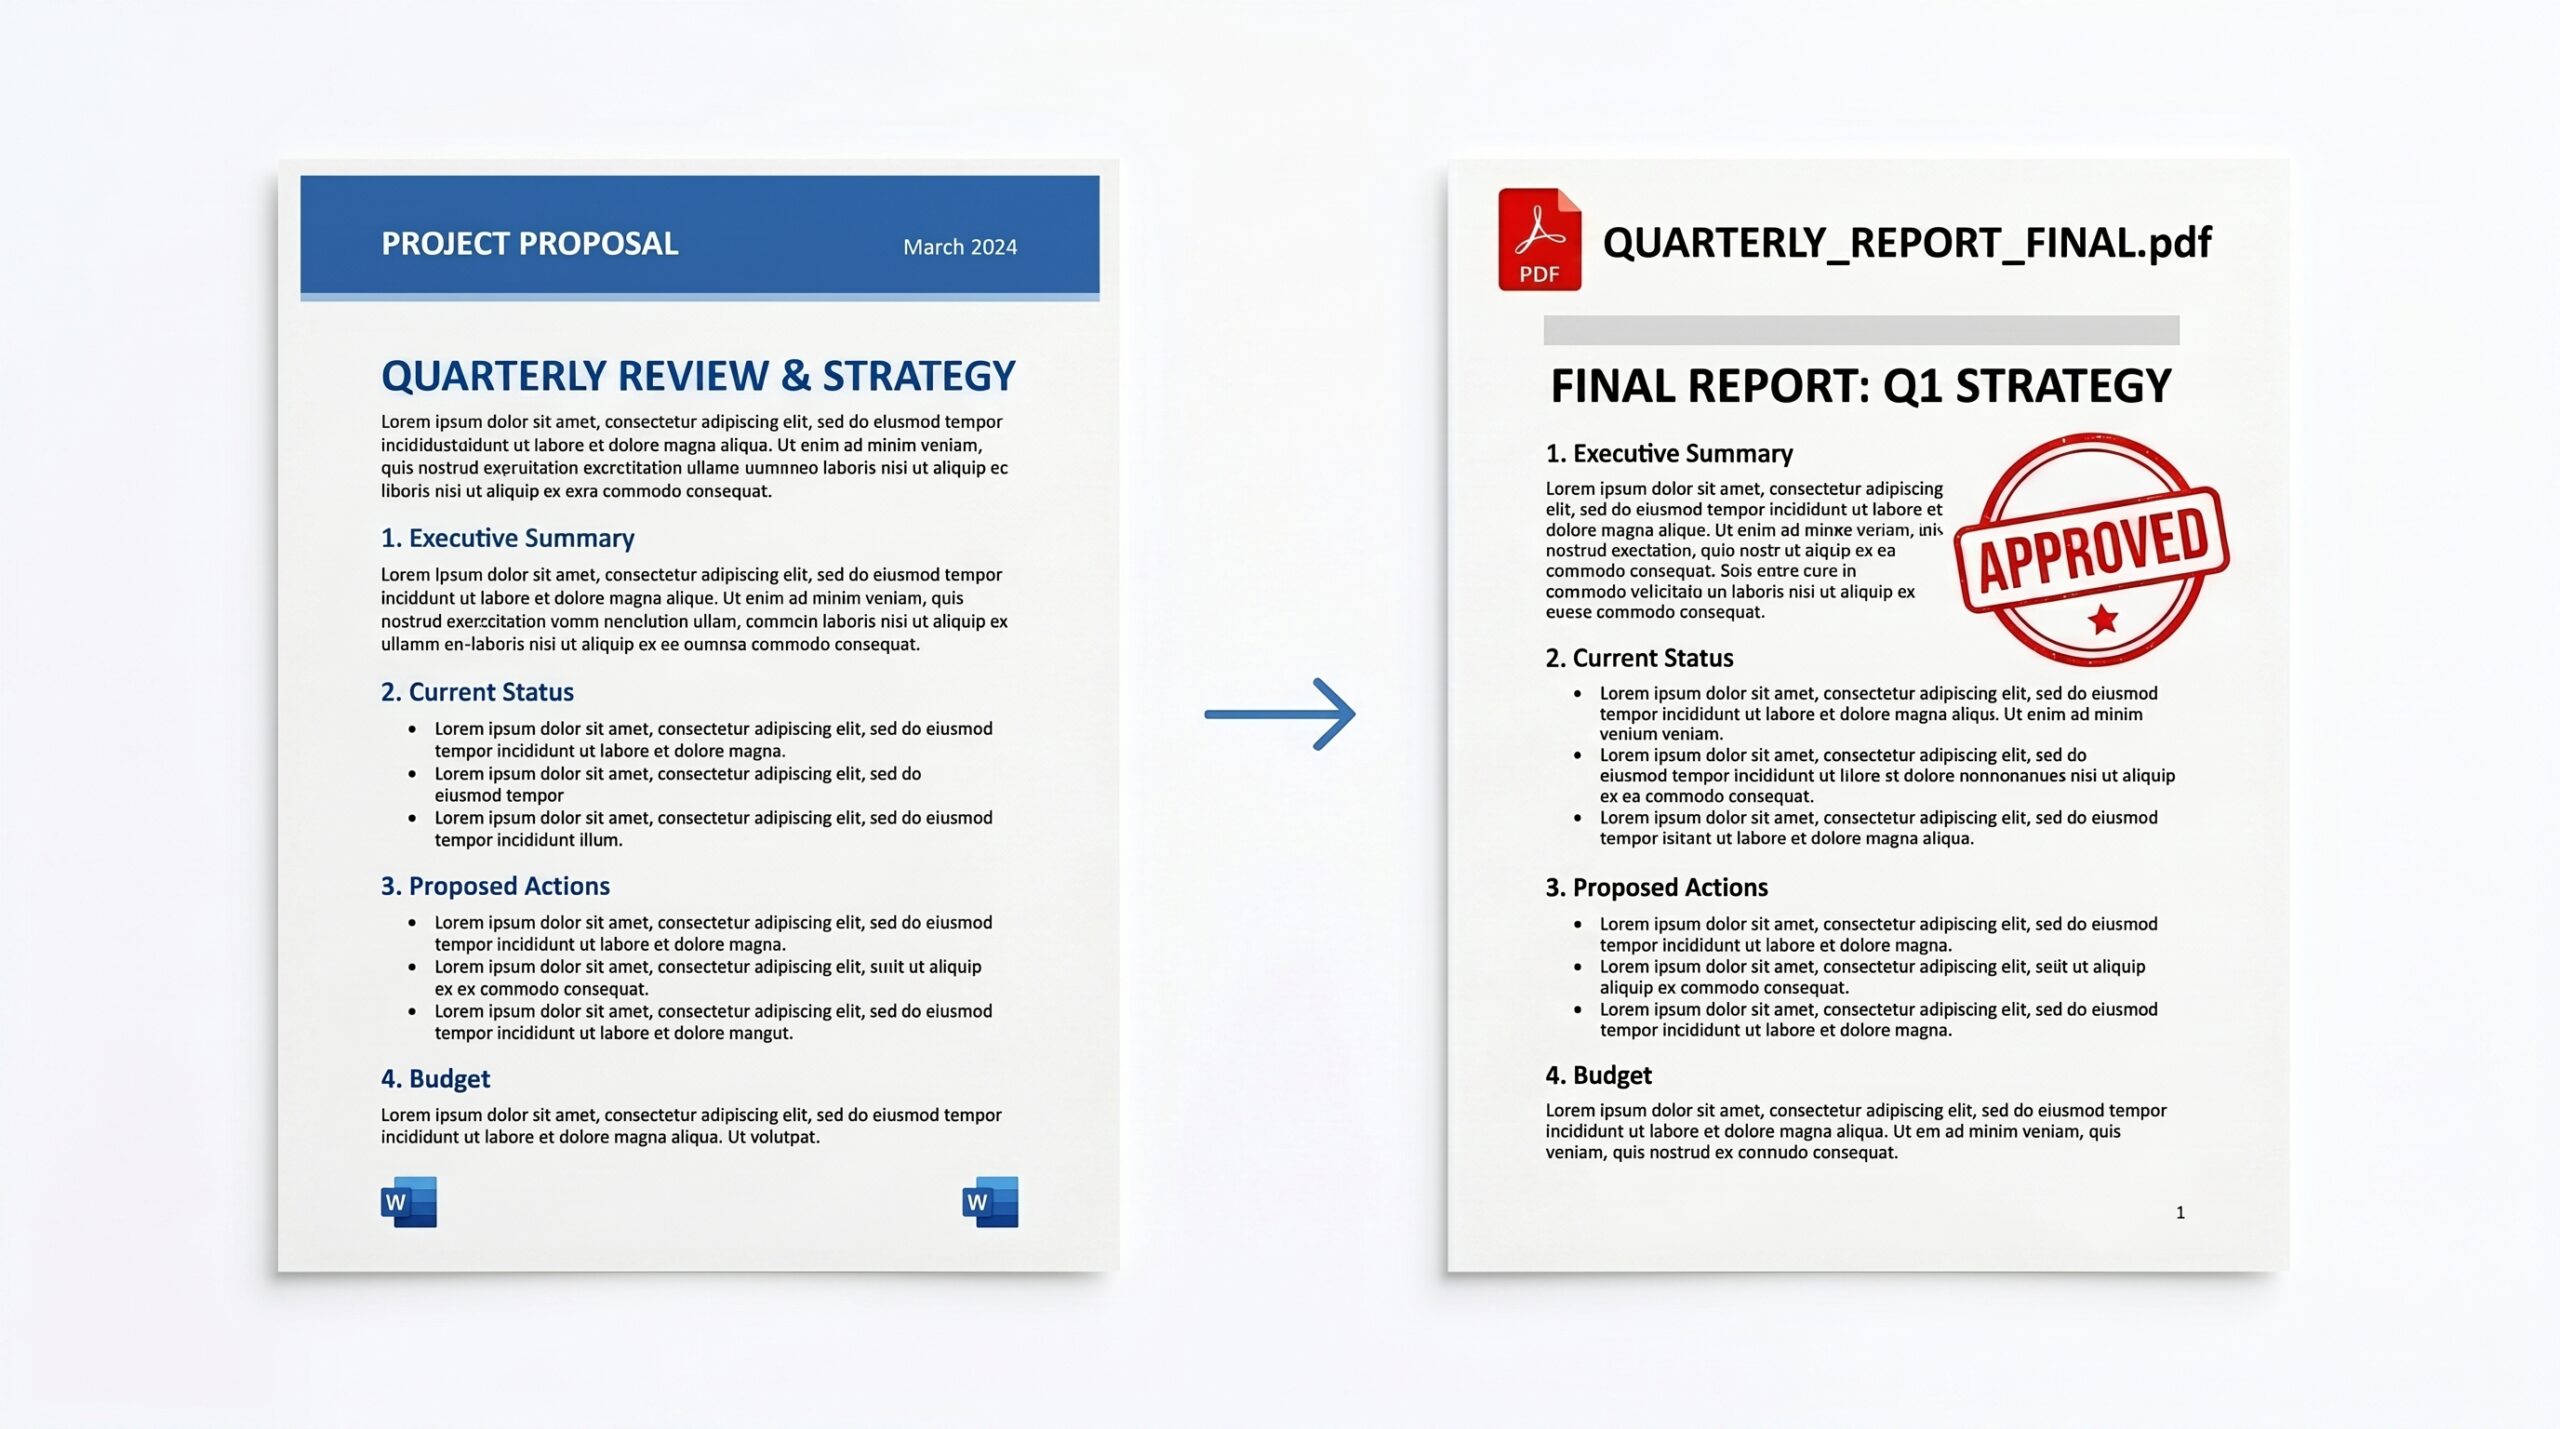
You’ve spent hours perfecting a document — custom fonts, precise spacing, a table that finally lines up — and then you convert it to PDF and everything shifts. The header shrinks, the footer disappears, and that table now spills off the page. If that sounds familiar, you’re definitely not alone.
Converting Word to PDF without losing formatting isn’t hard once you know which method to use and why. I’ll walk you through three reliable approaches — built right into Microsoft Word, Google Docs, and a solid free tool — so you can pick what fits your setup.
What You’ll Need
- A .docx or .doc Word file ready to convert
- Microsoft Word 2016 or later (for Method 1) — or a free Google account (for Method 2)
- An internet connection if using Google Docs or an online converter
- About 5 minutes
Before jumping in, one thing I always tell people: not all conversion methods are equal. The method you choose directly affects how faithfully your fonts, margins, images, and layout are preserved. Here’s a quick comparison to set expectations:
I recommend Method 1 for most people. It’s fast, accurate, and you’re not sending your document to a third-party server.
Method 1 Using Microsoft Word’s Built-In Export (Best Option)
This is the gold standard. When you export directly from Word, it uses the same rendering engine that built your document — so what you see is almost always what you get. I use this for anything that matters: resumes, contracts, reports.
- 1 Open your document in Microsoft Word. Before converting, do a quick scroll — check that fonts, images, and page breaks look right on-screen. What you see here is what ends up in the PDF.
- 2 Click the File tab in the top-left ribbon, then select Export from the left-hand menu.
- 3 Click Create PDF/XPS Document, then hit the Create PDF/XPS button on the right.
- 4 In the dialog that opens, choose a save location and give your file a name. Under Save as type, confirm it says PDF (*.pdf).
- 5 Click Options… (bottom of the dialog). This is where most people skip a crucial step. Make sure “Document structure tags for accessibility” is checked if you need a tagged/searchable PDF, and that the Page range is set to “All” unless you want a partial export.
- 6 Hit Publish. Word will generate the file and may open it automatically in your default PDF viewer.
Method 2 Using Google Docs (Free, No Software Needed)
Don’t have Microsoft Word? Google Docs handles this surprisingly well. Honestly, it’s better than most people expect — as long as you’re not dealing with highly complex layouts or obscure fonts.
- 1 Go to drive.google.com and sign in to your Google account.
- 2 Click New → File upload and select your .docx file. Wait for it to finish uploading.
- 3Double-click the uploaded file. It’ll open in Google Docs automatically. Scan through the document — minor formatting shifts sometimes happen during upload, and you want to catch them now.
- 4 Click File in the top menu, then hover over Download in the dropdown.
- 5 Select PDF Document (.pdf). The PDF will download immediately to your default downloads folder.
Method 3 Using a Free Online Converter (Quick Fallback)
Sometimes you’re on a locked-down work computer with no access to Word or Google. In that case, a browser-based tool does the job. I’d use this for non-sensitive documents only — you’re uploading your file to someone else’s server.
Two tools I’ve found consistently reliable: ILovePDF (ilovepdf.com) and Smallpdf (smallpdf.com). Both are free for single file conversions.
- 1 Visit ilovepdf.com/word_to_pdf or smallpdf.com/word-to-pdf in your browser.
- 2 Click Select Word files (or drag your file onto the drop zone). Most tools accept both .docx and older .doc formats.
- 3Wait for the upload and conversion to complete. This usually takes 10–30 seconds depending on file size.
- 4 Click Download PDF to save the converted file. Delete the file from their servers if the option is offered — ILovePDF has a “Delete files” button after download.
Pro Tips & Common Mistakes to Avoid
These are the things I wish someone had told me when I started doing this regularly. Most formatting disasters are preventable.
|
🔤
Embed Your Fonts
Custom fonts won’t travel with your PDF unless you embed them. In Word: File → Options → Save → Embed fonts in the file. |
📐
Check Page Margins First
Margins set to “Narrow” can cause content to clip in PDF. Set margins to at least 0.75″ on all sides before exporting. |
|
🖼️
Anchor Your Images
Images set to “float” can shift during conversion. Right-click any image → Wrap Text → In Line with Text to lock it in place. |
🔍
Always Preview First
Use Word’s File → Print Preview to catch layout issues before converting. What shows here mirrors your PDF output closely. |
|
🔗
Preserve Hyperlinks
Use Export (not Print to PDF) to keep clickable links intact in the final PDF file. |
📏
Don’t Use Spaces for Alignment
If you’ve used spacebar-tapping to align text visually, it’ll break in PDF. Use tabs or Word’s alignment tools instead. |
📋 Quick Recap
- Best quality: Use File → Export → Create PDF/XPS directly in Microsoft Word
- No Word license: Upload to Google Docs, then File → Download → PDF Document
- Quick one-off, non-sensitive files: Use ILovePDF or Smallpdf online
- Always embed fonts if your document uses anything beyond default system fonts
- Avoid spacing hacks — use proper alignment tools or your PDF layout will drift
- Never upload confidential files to third-party online converters
You’re All Set
Converting Word to PDF without losing formatting really does come down to choosing the right method for your situation. Microsoft Word’s native Export feature is your most reliable bet for professional documents. Google Docs is a genuinely capable free alternative. And online tools are fine for quick, non-sensitive jobs when nothing else is available.
In my experience, most formatting problems come from skipped prep steps — un-embedded fonts, floating images, or using spaces instead of proper alignment. Fix those upfront and your conversions will be clean almost every time.
Once you’ve got a solid PDF, you might find you also need to compress it for email attachments or add a password to protect sensitive content — both of which are easy follow-up steps worth knowing.