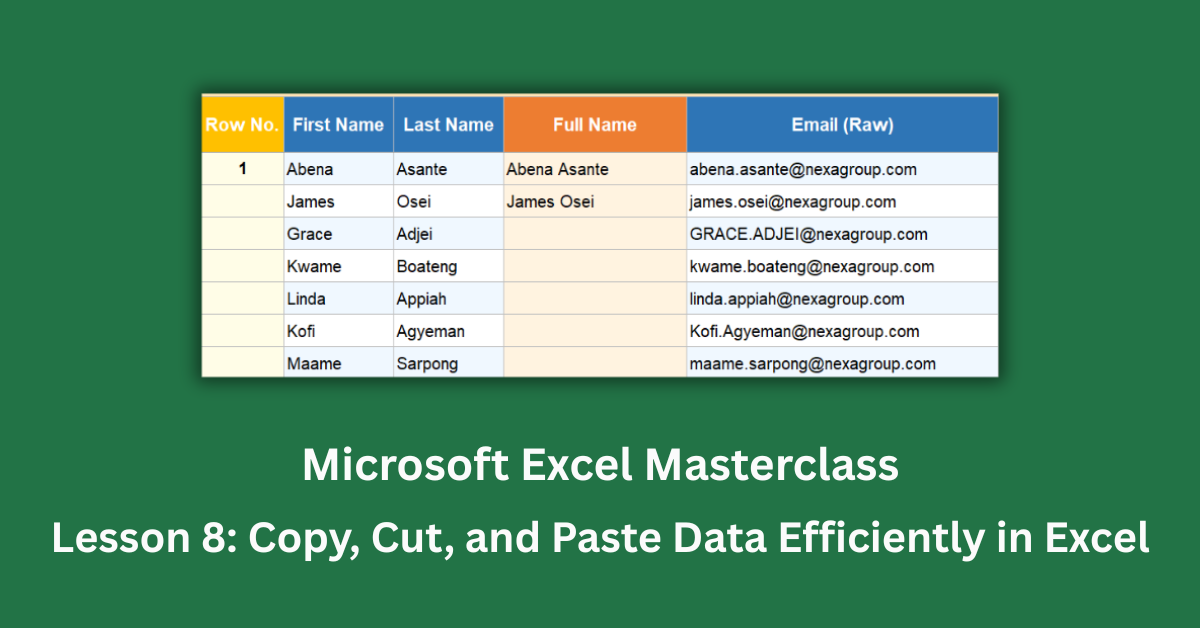
Copy, cut, and paste in Excel sounds like the simplest thing in the world. Ctrl+C, Ctrl+V, done. But anyone who has pasted a formula into a new location and watched it break, or tried to copy a formatted table and ended up with a column of misaligned values, knows the reality is a bit more complicated.
Excel’s paste system is one of the most underused features in the entire application. Most people know one way to paste. There are over a dozen. The difference between pasting everything and pasting only values, or pasting only formatting, or transposing rows into columns, can save you hours of cleanup work on a real project. That’s not an exaggeration.
This post covers the full picture of copy, cut, and paste in Excel: the shortcuts, the Paste Special options that most people never touch, the difference between copying and cutting, and a few practical techniques that make daily spreadsheet work genuinely faster.
Quick Takeaways:
- Paste Special (Ctrl + Alt + V) is the most powerful paste tool in Excel. It lets you paste only values, only formats, only formulas, or transpose your data — without the default “paste everything” behaviour.
- Copying preserves the original cell. Cutting removes it. After a cut, the marching ants (animated border) disappear as soon as you paste.
- Paste Values (Ctrl + Alt + V, then V, then Enter) is the most commonly needed Paste Special option. It strips formulas and pastes only the calculated result.
- Pressing Escape cancels a copy or cut before you paste, removing the animated selection border.
- You can paste into multiple destinations from one copy. Copy once, paste as many times as you need before pressing Escape or making another edit.
The Basics: Copy, Cut, and What Actually Happens
Understanding what Excel does under the hood makes everything else easier to follow.
Copying vs. Cutting
When you copy a cell or range with Ctrl + C, Excel places a copy of the content on the clipboard and shows a moving dashed border (often called “marching ants”) around the copied selection. The original data stays exactly where it is.
When you cut with Ctrl + X, Excel marks the selection for removal and shows the same animated border. The data doesn’t actually move until you paste. At that point, the original disappears and the content reappears at the destination.
One practical difference: after copying, you can paste multiple times to multiple locations. After cutting, you only get one paste. The moment you paste, or press Escape, or make any edit, the clipboard clears.
What Gets Copied by Default
When you use Ctrl + C and then Ctrl + V, Excel pastes everything: the cell value, any formula behind the value, the cell’s number format, font, fill colour, borders, and cell width adjustments. That completeness is useful sometimes. Other times it causes problems.
Pasting a formula into a new location adjusts relative cell references automatically. Paste a formula that references A1:A10 two columns to the right, and it now references C1:C10. That behaviour is intentional, but it’s also the source of one of the most common Excel frustrations: formulas that break silently after being moved.
How to Copy, Cut, and Paste in Excel Efficiently
Keyboard Shortcuts Worth Memorising
Ctrl + C copies. Ctrl + X cuts. Ctrl + V pastes. Most people know these. A few more worth adding:
Ctrl + D fills down. Select a cell with content, hold Shift and select the cells below it, then press Ctrl + D. The top cell’s content copies to every selected cell below. It’s faster than copying and pasting for filling a formula down a column.
Ctrl + R does the same thing to the right. Select a cell and extend the selection rightward, then press Ctrl + R to fill right.
Both of these work with formulas and values. For filling a formula down a long column, Ctrl + D is often quicker than the fill handle.
Drag to Move and Copy
There’s also a mouse method worth knowing. Hover over the border of a selected cell or range until the cursor changes to a four-headed arrow. Click and drag to move the selection to a new location. This is the equivalent of cut and paste in one step.
Hold Ctrl while dragging and it becomes copy-and-paste instead. The cursor gains a small plus symbol to indicate you’re copying rather than moving. Drag to the destination, release the mouse, release Ctrl.
I’ve found drag-to-move most useful for rearranging sections of a sheet quickly, especially when the destination is visible on screen without scrolling. For longer distances, keyboard shortcuts are more reliable.
Paste Special: The Feature Most People Ignore
Paste Special is where efficient Excel use really begins. Press Ctrl + Alt + V after copying to open the Paste Special dialog. It offers a full set of options for precisely what gets pasted.
Paste Values Only
This is the single most useful paste option in the application. When you copy a cell containing a formula and paste values only, Excel pastes the calculated result as a plain number rather than the formula itself. The destination cell has no formula. No references. Just the number.
Use this when you want to freeze a calculation. A total calculated by SUM, a date produced by TODAY(), a result from VLOOKUP — paste values only and the result stays fixed regardless of what happens to the source data. Keyboard shortcut: Ctrl + Alt + V, then V, then Enter.
Paste Formats Only
Copy a cell that has exactly the formatting you want — background colour, font size, number format, border style — and use Paste Special to paste only the formats to a different cell or range. The destination cell keeps its own content but takes on the visual style of the source.
This is cleaner than using Format Painter for large ranges because you can select the destination precisely before pasting. Format Painter requires you to drag, which gets imprecise with large datasets.
Paste Column Widths
Here’s a Paste Special option most people have never noticed. If you’ve spent time adjusting column widths in one area of a sheet and want to match those widths in another section, copy the source columns, open Paste Special, and choose “Column widths.” The column widths transfer without changing any data.
Transpose: Flip Rows and Columns
Transpose is one of the most practical Paste Special options for anyone who receives data in the wrong orientation. If you have data in a row that should be a column — or a column that should be a row — copy the range, go to the destination, open Paste Special, and tick the Transpose checkbox before pasting. Rows become columns. Columns become rows.
This saves significant rework when you’re consolidating data from multiple sources that weren’t formatted consistently.
Paste With Operations: Add, Subtract, Multiply, Divide
This one genuinely surprises people. Copy a cell containing a number — say, the value 1.1 (representing a 10% increase). Select a range of prices. Open Paste Special and choose Multiply under the Operations section. Every price in the selected range multiplies by 1.1 instantly. No helper column. No formula. A bulk calculation applied through paste.
The same approach works with addition, subtraction, and division. It’s the fastest way to apply a uniform adjustment across a large set of values without writing new formulas.
The Office Clipboard: Paste From Multiple Sources
Excel’s clipboard can hold up to 24 copied items at once. Open the Clipboard pane from the Home tab by clicking the small arrow in the bottom-right corner of the Clipboard group. Every item you copy during your session appears there.
Click any item in the Clipboard pane to paste it, even if you’ve copied something else since. This is particularly useful when you’re consolidating data from several sources into one sheet — copy from source one, copy from source two, copy from source three, then paste each item in the right place from the Clipboard pane rather than switching back and forth between files.
Most users never open this pane. Once you know it exists, it changes how you handle multi-source consolidation work.
Common Mistakes and How to Avoid Them
Pasting over existing data accidentally. Before you paste, check what’s in the destination cells. Ctrl + V replaces whatever is there with no warning. If you paste in the wrong place, Ctrl + Z undoes it immediately.
Breaking formulas by cutting. When you cut a cell that other cells reference, Excel updates those references to follow the cell to its new location. That’s usually the right behaviour. But if you cut the cell and then paste it into a location where those updated references now point to the wrong data, the formulas break silently. Copy first, verify the result, then delete the original.
Losing formatting when pasting from external sources. When you paste data from a website, PDF, or other application, Excel brings in whatever formatting was in the source. Use Paste Special and choose “Text” or “Values” to strip external formatting and let the data inherit the sheet’s existing style.
One Habit That Pays Off Every Day
Add Paste Special to your Quick Access Toolbar. Right-click on the Paste icon in the Home tab, choose “Add to Quick Access Toolbar,” then do the same for “Paste Values.” Two clicks in the top-left corner replace a three-step keyboard sequence for your most common paste operation.
The efficiency gains from knowing Paste Special, paste values, and the Clipboard pane are not theoretical. They show up every day, in every file, in every project. Copy and paste is the action you take more than almost anything else in Excel. It’s worth taking five minutes to learn all the ways to do it.