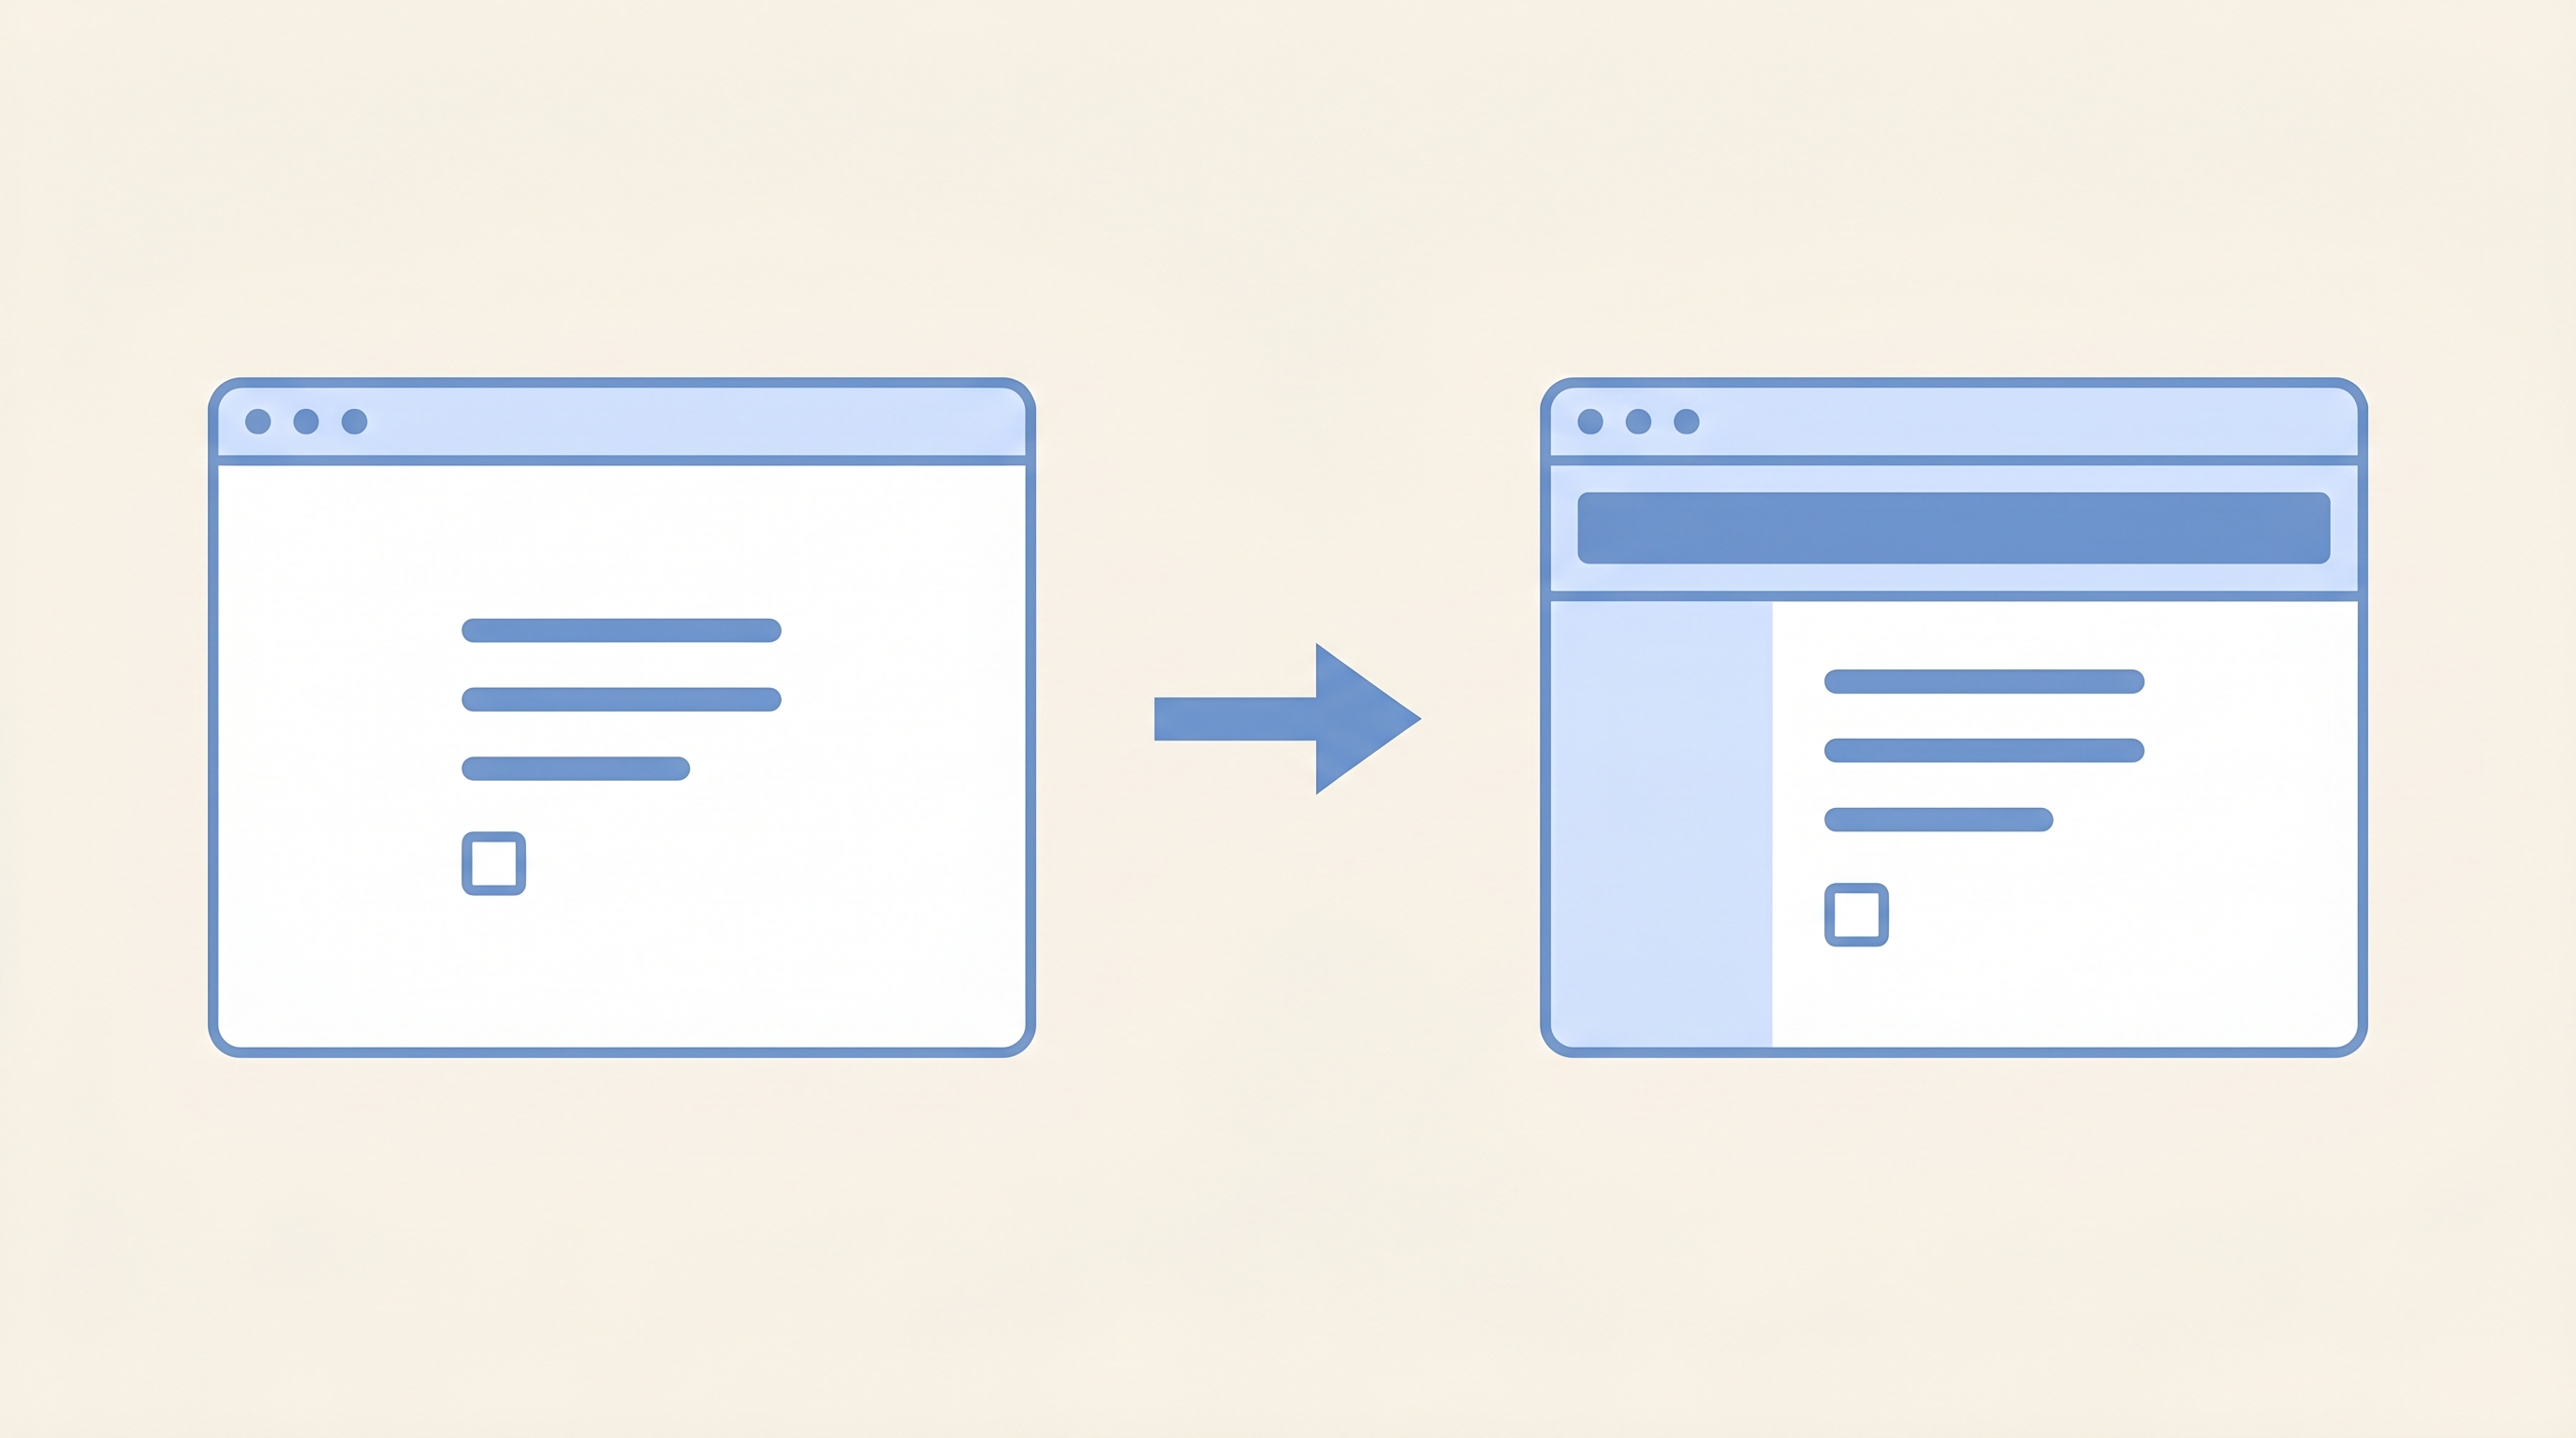
Sending people to a separate Google Form link works fine — but making them leave your page to fill something out means losing momentum, and sometimes losing them entirely. Embedding a Google Form directly into your website keeps everything in one place, and it’s genuinely one of the faster things you’ll do today.
📋 Contents
Before You Start
You’ll need three things:
- A published Google Form — one that’s set to accept responses (the toggle in the Responses tab must be on)
- Access to edit your website’s content — whether that’s a WordPress post, an HTML file, or a page builder
- Basic comfort copying and pasting a snippet of HTML code — that’s genuinely all the technical skill required
📝 Note
You don’t need to change any sharing settings on the form itself for embedding to work. The embed code generates a public iframe — as long as the form is accepting responses, it’ll load for anyone who visits the page.
1 Get the Embed Code from Google Forms
Open your form in the Google Forms editor. In the top-right corner, click the Send button. The Send form dialog opens with three tabs along the top — represented by icons: an envelope, a chain link, and a pair of angle brackets (< >).
Click the < > icon — that’s the embed tab. You’ll immediately see an <iframe> code snippet in a text area, along with two fields: Width and Height. The defaults are 640px wide and 511px tall.
You can adjust those dimensions here before copying, or adjust them later directly in the code — either works. When you’re ready, click Copy. The full iframe snippet is now on your clipboard.
✅ What you’ll have copied
The snippet looks something like this: <iframe src="https://docs.google.com/forms/d/e/YOURFORMID/viewform?embedded=true" width="640" height="511" frameborder="0" marginheight="0" marginwidth="0">Loading…</iframe>. That ?embedded=true parameter at the end of the URL is what tells Google Forms to render in embed mode rather than standalone.
2 Understand What the Embed Code Does
The <iframe> element loads your Google Form inside a contained window within your page — like a browser-within-a-browser. The form itself is still hosted and processed entirely by Google. Your website just displays it. This means:
- Responses still go to Google Forms (and your linked spreadsheet if you’ve set one up)
- You can’t style the form’s appearance using your site’s CSS — the form is inside a sandboxed iframe
- If you update the form in Google Forms, the embedded version updates automatically — no need to re-embed
- If you close responses in Google Forms, the embedded version shows the “closed” message too
💡 Tip
Because the form is sandboxed inside an iframe, it won’t inherit your website’s fonts, colors, or button styles. If visual consistency matters to you, the closest workaround is matching your form’s theme color (set in Google Forms’ palette panel) to your site’s brand color.
3 Embed in WordPress
WordPress is where most people get tripped up — not because it’s complicated, but because pasting HTML into the wrong editor mode silently strips it out. Here’s exactly how to do it correctly.
Using the Gutenberg Block Editor (WordPress 5.0+)
- Open the post or page where you want the form to appear.
- Click the + button to add a new block. Search for Custom HTML and select it.
- Paste your
<iframe>code directly into the Custom HTML block. Do not switch to the visual editor view while this block is selected — it will escape the HTML and break it. - Click Preview to see the form rendered on the page before publishing.
⚠️ Warning
Never paste the iframe code into a Paragraph block. The visual editor will treat the angle brackets as text and render <iframe ...> as literal characters on the page. Always use a Custom HTML block.
Using the Classic Editor
If you’re using the Classic Editor plugin or an older WordPress installation, open your post and click the Text tab (top-right of the editor — next to “Visual”). This switches you to raw HTML mode. Paste your iframe code at the position in the content where you want the form to appear. Switch back to Visual to confirm it looks right, then save.
📝 Note
Some WordPress themes and security plugins (like Wordfence or certain hardened setups) block iframes in post content. If your form doesn’t appear after publishing, check whether your theme or a plugin is filtering iframe tags. In that case, a plugin like Advanced iFrame can help work around those restrictions.
4 Embed in a Plain HTML Site
This is the simplest case. Open your .html file in any text editor. Find the spot in your page’s <body> where you want the form to appear, and paste the iframe code there. Save the file and open it in a browser — the form loads immediately.
To make the form sit cleanly within your layout, wrap the iframe in a <div> with a max-width and centered margin:
Notice the width="100%" on the iframe itself — this makes the form fill its container on any screen width, rather than being fixed at 640px. I almost always do this instead of using a fixed pixel width.
💡 Tip
The frameborder="0" attribute removes the default grey border around the iframe in older browsers. It’s technically deprecated in HTML5, but including it doesn’t hurt and prevents an ugly outline in edge cases.
5 Embed in Wix, Squarespace, or Webflow
Each of these platforms has a dedicated HTML/embed widget. The process is nearly identical across all three — find their embed block, paste the iframe code, and save.
Wix
In the Wix editor, click Add Elements → Embed → Embed a Widget → HTML iFrame. A blank HTML embed box appears on your canvas. Click Enter Code inside it, paste your iframe snippet, and click Apply. Resize the embed box by dragging its corners on the canvas.
Squarespace
In the Squarespace page editor, click the + to add a block, then choose Code. Paste your iframe into the code block. Make sure the display mode is set to HTML (not Markdown). Hit Apply. On Squarespace’s free plans, code blocks may not render in the editor preview — they’ll show a placeholder, but they do render live on the published page.
Webflow
In the Webflow Designer, drag an Embed element from the Add panel onto your canvas. Double-click it to open the code editor, paste your iframe code, and click Save & Close. Webflow renders the form live in the designer immediately. You can resize the embed container like any other element.
📝 Note
Notion pages don’t support iframe embeds from Google Forms — Notion blocks the docs.google.com domain in its embed allowlist. For Notion, you’re better off using the direct form link.
6 Resize the Embedded Form
The default iframe dimensions (640×511px) rarely fit cleanly into a real page. Here’s how to handle sizing properly.
Width: Always Use 100%
Change width="640" to width="100%". This makes the form fill the available column width responsively on any device — mobile, tablet, or desktop. A fixed pixel width almost always creates horizontal overflow on mobile screens. I change this on every single embed I do.
Height: Match Your Form’s Length
Height is trickier because iframes can’t auto-size to their content by default. The form doesn’t tell the parent page how tall it is. This means if the height value is too short, the form gets cut off with a scrollbar inside the iframe — which looks terrible and confuses respondents.
My approach: open the form’s standalone URL in a browser, scroll to the bottom of the form, and note approximately how long it is. Then set the iframe height to something generous — I typically add 150–200px extra as a buffer. For a short 4-question form, 600px is usually plenty. For a long multi-section form, 1200–1400px might be needed.
There is no automatic height solution built into Google Forms’ embed. If you want true auto-height, you’d need a JavaScript postMessage approach — but that’s a custom development task, not something Google provides out of the box.
⚠️ Warning
If your form uses conditional logic with multiple sections, the height required changes depending on the path a respondent takes. A form that shows extra questions for one answer type might overflow the iframe on those paths. Set your height based on the longest possible path through the form, not the shortest.
Pro Tips & Common Mistakes to Avoid
Lessons from embedding a lot of these
- Test on mobile before publishing — Even with
width="100%", some platforms add extra padding or max-width constraints that make the form feel cramped on small screens. Open the published page on your phone and fill it out completely — that’s the real test. - The “Loading…” text inside the iframe tag is a fallback — That text between
<iframe>and</iframe>only shows in browsers that don’t support iframes — which is essentially no one today. You can change it to something more descriptive like “Fill out our contact form here” as a minor accessibility improvement, but it barely matters in practice. - Don’t close responses while the form is embedded — If you close the form to new responses via the Responses tab toggle, the embedded form will show a “This form is no longer accepting responses” message right on your web page. Update your page content at the same time so visitors aren’t confused by a dead-end form sitting there.
- The embed URL and the share URL are the same form — Some people assume the embedded version is a separate thing. It isn’t. If someone submits via the embedded form on your site, the response appears in exactly the same place as if they’d filled it out at the direct URL. One form, one response destination, regardless of how people access it.
- Consider adding a direct link below the embed as a fallback — A small percentage of users will have browser extensions or corporate network settings that block iframes. Adding a line like “Having trouble viewing the form? Open it directly here” underneath the embed is a simple insurance policy that takes 10 seconds to add.
Quick recap: the full process
- Open your form → click Send → click the < > embed icon
- Optionally adjust dimensions → click Copy
- WordPress: add a Custom HTML block → paste → preview
- HTML site: paste inside
<body>→ change width to 100% - Wix / Squarespace / Webflow: use their HTML/Embed block → paste → apply
- Set height generously based on the longest path through your form
- Test on mobile before going live
That’s all it takes
Embedding a Google Form is one of the smallest changes you can make to a page that has a noticeable effect on completion rates. Fewer clicks, less context-switching, more responses — it adds up.
Once the form is embedded and collecting responses, the natural next step is making sure those responses are going somewhere useful. If you haven’t already linked your form to a Google Sheet, that’s worth setting up now — before the responses start stacking up inside the Forms interface.
Your form is live on your site. Go check it on your phone.