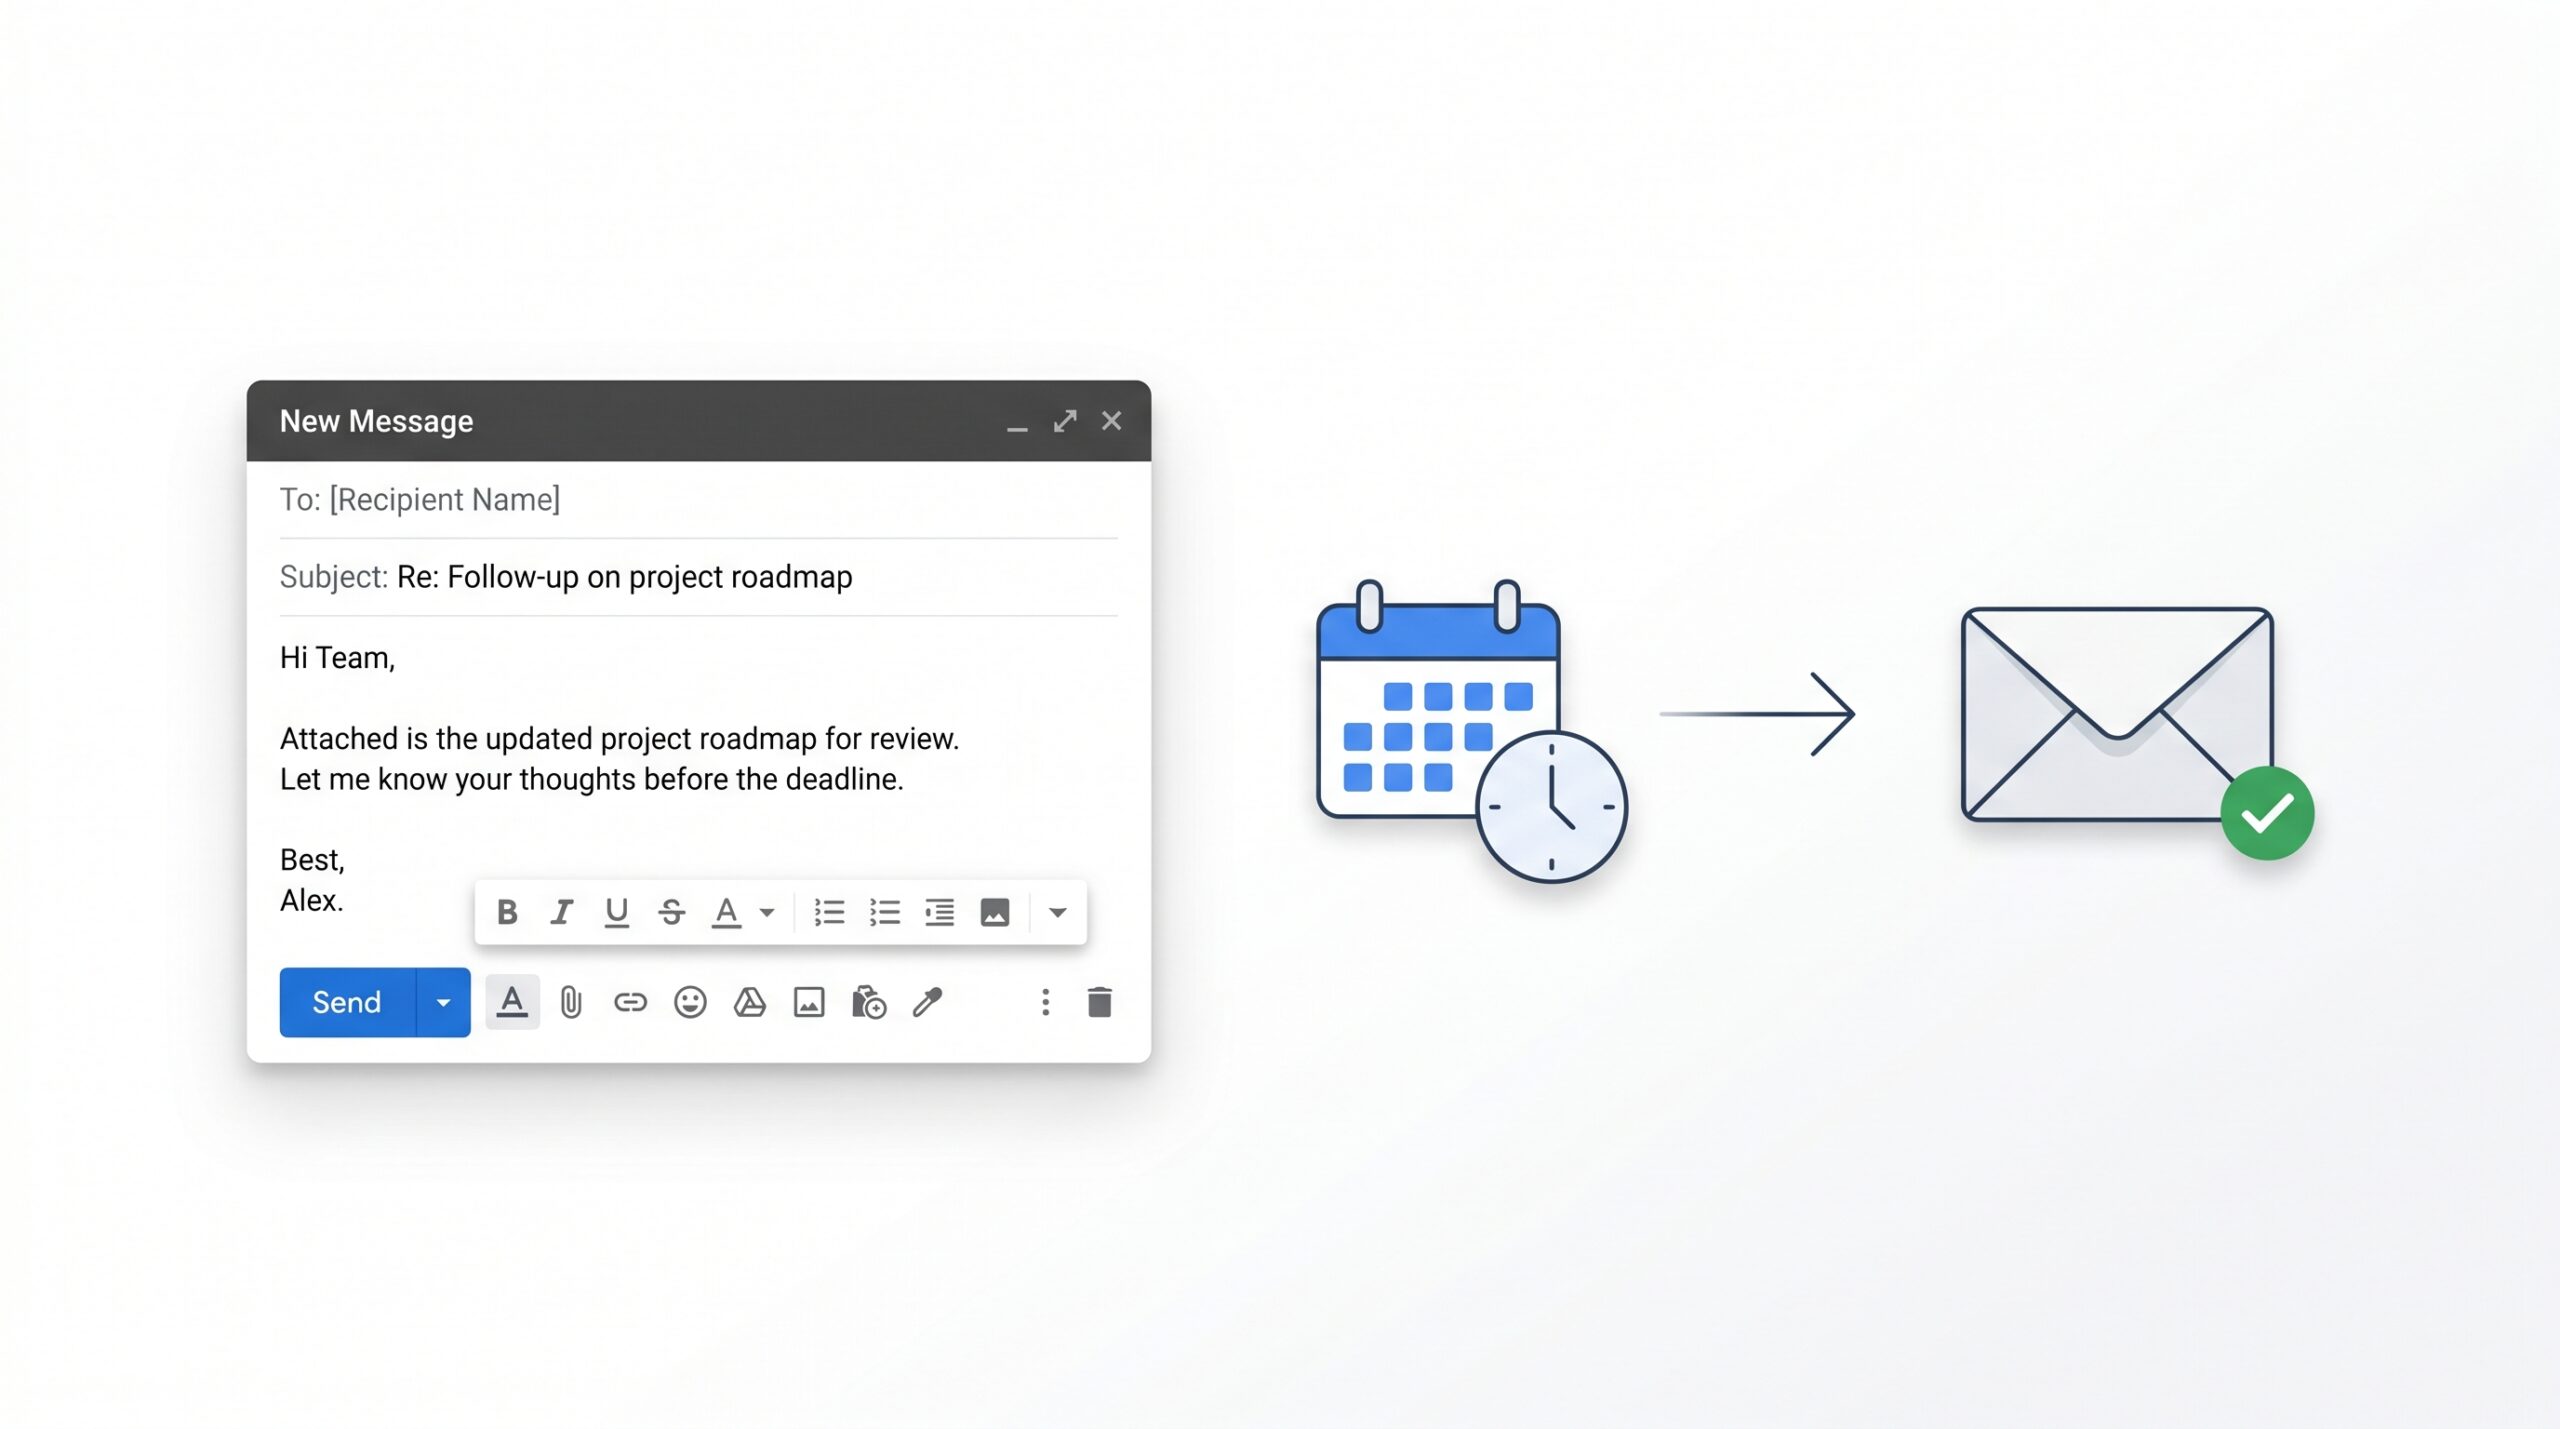
You’ve written a perfectly crafted email at 11pm, but sending it now feels wrong — too late, too eager, or just bad timing. Gmail’s Schedule Send feature solves this exactly. It lets you write the email whenever it suits you and have it land in the recipient’s inbox at precisely the right moment, whether that’s 9am Monday morning or a specific date three weeks out.
📋 What You’ll Need
- A Gmail account — free or Google Workspace
- Gmail open in a browser or the Gmail mobile app (iOS or Android)
- About 60 seconds — this is genuinely one of Gmail’s quickest features to use
Step 1: Compose Your Email as Normal
Open Gmail and click Compose in the top-left corner to open a new message window. Write your email completely — recipient, subject line, body, any attachments. The Schedule Send option only appears once you’re ready to send, so treat this step exactly as you would a normal email.
💡 Tip: Double-check the To field before scheduling. It’s easy to spot a typo right after you’ve written an email — it’s much harder to catch one after it’s already been scheduled and you’ve moved on. Gmail will not warn you about mismatched recipient names.
Step 2: Click the Schedule Send Arrow (Not the Send Button)
Here’s where most people pause — the Schedule Send option isn’t on the Send button itself. Look at the Send button in the bottom-left of the compose window. You’ll see a small downward-pointing arrow (▾) immediately to the right of it. Click that arrow, not the Send button.
A small dropdown menu appears with two options: Schedule send and Send. Click Schedule send. That’s the entire trick — once you know where to look, it takes one click.
📝 Note: On the Gmail mobile app, the process is slightly different. After composing, tap the three-dot menu (⋮) in the top-right corner of the compose screen, then tap Schedule send from the dropdown. Same result, different path.
Step 3: Choose Your Send Time
After clicking Schedule send, a dialog box appears with three pre-set suggestions based on the current time. Gmail typically suggests something like “Tomorrow morning (8:00am),” “Tomorrow afternoon (1:00pm),” and “Monday morning (8:00am)” — the exact options shift depending on when you’re composing.
If one of the suggestions works, click it and you’re done. If you need a specific date or time, click Pick date & time at the bottom of the dialog. This opens a calendar and time picker where you can set any future date and time, down to the minute.
Setting a Custom Date and Time
- Click Pick date & time in the schedule dialog.
- A calendar appears. Click the date you want to send the email.
- Below the calendar, adjust the time using the hour and minute fields. Gmail uses a 12-hour clock with AM/PM — click the AM/PM toggle to switch if needed.
- Click Schedule send to confirm. The compose window closes and the email moves to your Scheduled folder.
💡 Tip: Gmail schedules emails in your local timezone — specifically whatever timezone is set in your Google Account settings. If you’re emailing someone in a different timezone and want it to arrive at a specific local time for them, do the conversion manually before scheduling. There’s no built-in “send at 9am their time” option.
How to Find, Edit, or Cancel a Scheduled Email
Once an email is scheduled, it lives in the Scheduled folder in your left sidebar — right below Sent in the default Gmail layout. This step trips up a lot of people who go hunting for the email in Drafts and can’t find it.
To Edit or Reschedule
- Click Scheduled in the left sidebar. If you don’t see it, click More to expand the folder list.
- Open the scheduled email.
- Click Cancel send at the top of the email. This pulls it back into a draft — it will not send.
- Edit the email or change the recipient as needed, then schedule it again using the same process above.
To Cancel Entirely
Click Cancel send and then simply delete the draft from your Drafts folder. The email won’t go anywhere.
⚠️ Warning: Once the scheduled send time arrives, Gmail sends the email automatically — even if your device is offline or your browser is closed. The scheduling runs on Google’s servers, not your device. There’s no “it didn’t send because my laptop was shut” situation. Make sure the email is exactly right before you schedule it.
Scheduling Emails on the Gmail Mobile App
The mobile experience is nearly identical — the only difference is where the option hides. Compose your email on iOS or Android, then tap the three-dot menu (⋮) in the top-right corner — not the Send arrow. Select Schedule send, pick from the suggested times or tap Pick date & time, and confirm. The email moves to a Scheduled label visible from the app’s sidebar.
To cancel or edit on mobile, open the Scheduled label from the sidebar, tap the email, and tap Cancel send. From there you’ll have the full compose window back to edit and reschedule as needed.
🚀 Pro Tips & Common Mistakes to Avoid
- Use Schedule Send as a professional timing tool, not just a convenience. Research consistently shows emails sent between 9–11am local time on Tuesday, Wednesday, or Thursday get the highest open rates. If you’re writing a pitch or follow-up at 6pm Sunday, schedule it for Tuesday at 9am — same email, meaningfully better result.
- Schedule Send is also a great “cooling off” tool. If you’ve written a strongly worded reply to something frustrating, schedule it for 2 hours later instead of sending immediately. I’ve done this dozens of times and edited or deleted about a third of those emails before they went out. The delay is a built-in sanity check.
- Don’t confuse Scheduled with Drafts. Drafts haven’t been touched since you last saved them. Scheduled emails are queued and will send automatically. They live in different folders and behave completely differently — always check the right folder when looking for a pending message.
- There’s no limit to how many emails you can have scheduled at once. You can queue up 20 emails to go out over the next two weeks and Gmail handles all of them. Great for newsletters, follow-up sequences, or time-sensitive announcements you want to prepare in advance.
- Combine Schedule Send with Undo Send for maximum control. Enable a 30-second Undo Send window alongside scheduled sending. Even after a scheduled email goes out, your Undo Send window gives you one last chance to pull it back the moment it releases — useful if you’re watching for it.
⚡ Quick Recap: How to Schedule an Email in Gmail
- Compose your email completely
- Click the ▾ arrow next to the Send button (desktop) or the ⋮ menu (mobile)
- Select Schedule send
- Choose a suggested time or click Pick date & time
- Confirm — the email moves to your Scheduled folder
Write Now, Send at the Perfect Time
Scheduling emails in Gmail takes about ten seconds once you know where the option lives — that little arrow next to Send is easy to miss the first time, but once you’ve used it, it becomes second nature. Whether you’re timing a professional email for peak open rates, avoiding the appearance of working at midnight, or just giving yourself a buffer to change your mind, Schedule Send is one of Gmail’s most genuinely useful features.
If you want even more control over your outgoing emails, pair this with Gmail’s Undo Send feature — together they cover both ends of the timing problem, before and after you hit send.