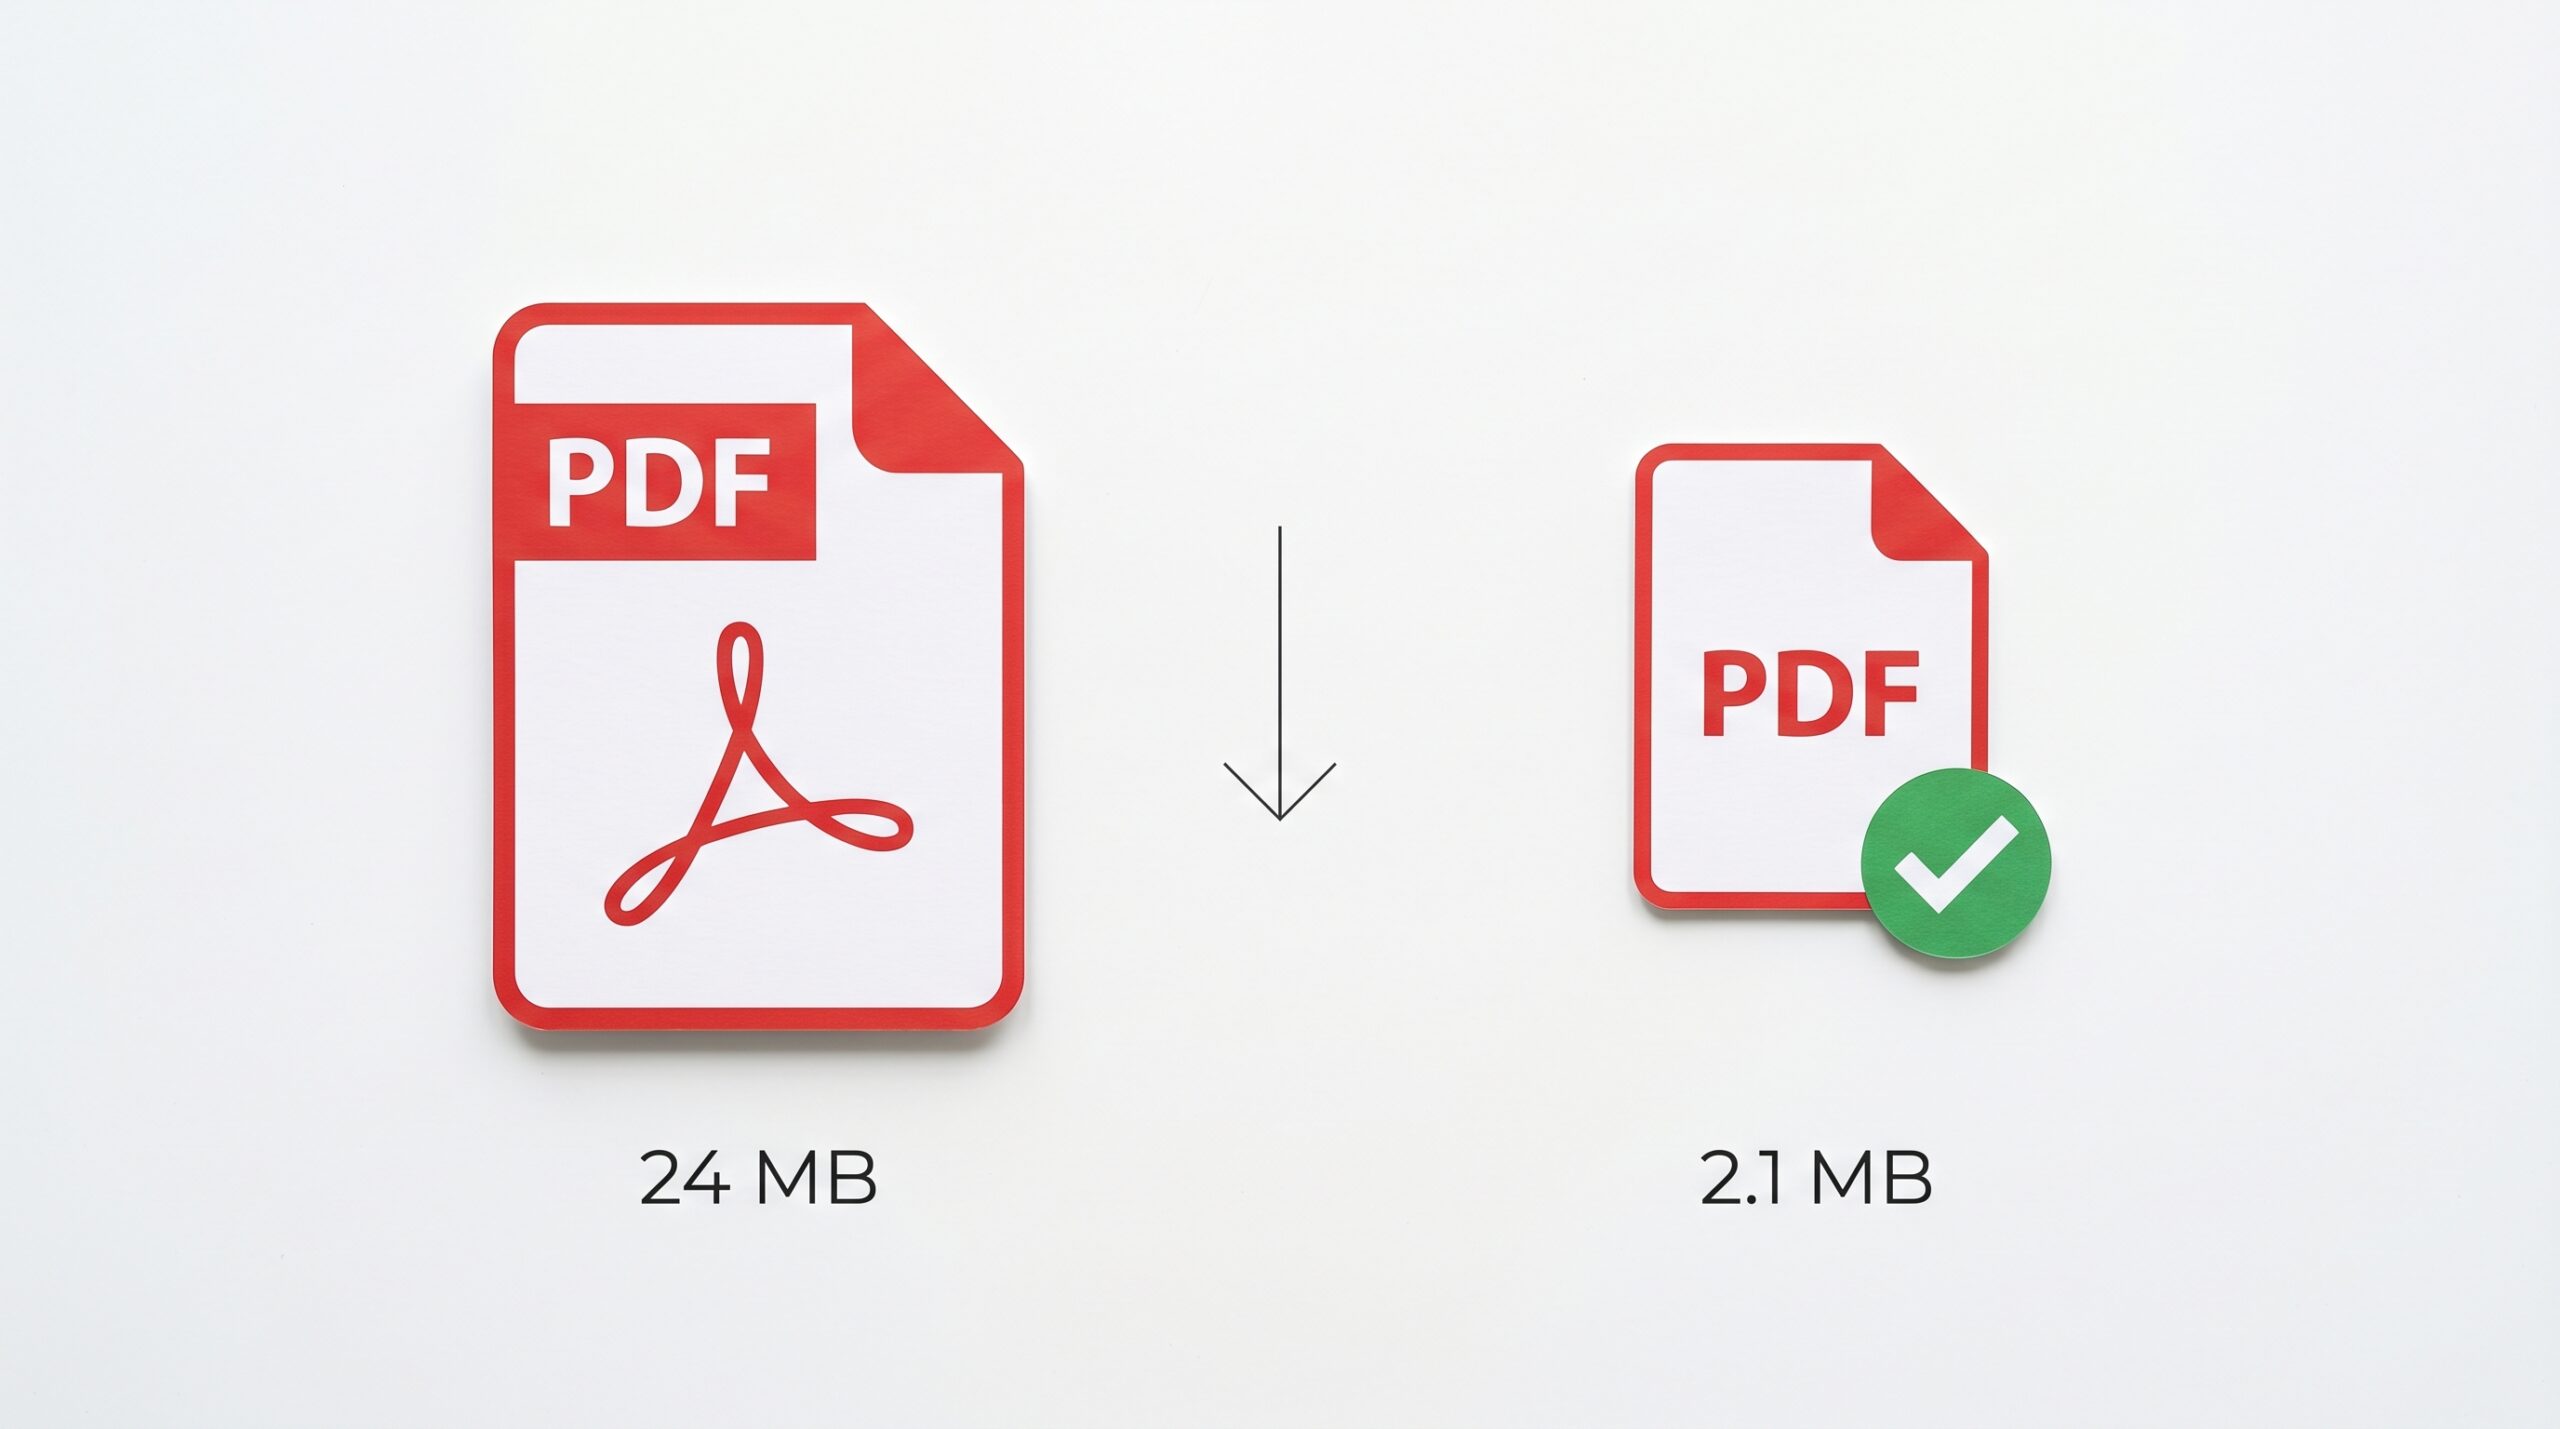
You’ve got a PDF ready to send, and then your email client throws up a red flag — “Attachment too large.” Most email providers cap attachments at 10–25 MB, and scanned documents, design files, or multi-page reports blow past that limit without warning. The good news is that compressing a PDF file size takes less than a minute once you know which method fits your situation.
📋 What You’ll Need
- Your oversized PDF file
- A browser (for free online tools) or Adobe Acrobat Pro (paid, most powerful) or Preview on Mac (free, built-in)
- About 2–5 minutes, depending on file size
Why PDF Files Get So Large (And What Compression Actually Does)
Before jumping into tools, it helps to know what you’re actually compressing. PDFs balloon in size for a few common reasons: embedded high-resolution images, embedded fonts, scanned pages stored as uncompressed bitmaps, and hidden metadata or form data. Compression doesn’t degrade your text — it reduces image resolution, removes redundant data, and re-encodes image streams more efficiently. The visual difference in a well-compressed PDF is usually unnoticeable on screen.
💡 Tip: Before compressing, check your PDF’s file size and note which pages have images. Right-click the file → Properties (Windows) or Get Info (Mac). If the file is under 5 MB, most email clients will accept it as-is — compression may not be necessary.
Method 1: Use Smallpdf or ILovePDF (Free, Browser-Based)
This is my go-to for quick, one-off compressions. No software to install, works on any device, and both tools produce genuinely good results — not the pixelated mush some compressors spit out.
- Go to smallpdf.com/compress-pdf or ilovepdf.com/compress_pdf.
- Click Choose File or drag your PDF into the upload box. Files up to 5 GB are supported on both tools.
- On Smallpdf, you’ll see a compression level selector: Basic, Strong, or Extreme. For email attachments, start with Basic — it typically cuts size by 40–60% with zero visible quality loss. Use Strong only if Basic isn’t enough.
- Click Compress PDF and wait — usually 5–15 seconds.
- Click Download to save the compressed file. Open it and do a quick visual check before sending.
⚠️ Warning: Don’t upload confidential documents — payslips, contracts, medical records — to third-party online tools. These servers process your file on their end. For sensitive PDFs, use a local method (Method 2 or 3 below).
Method 2: Compress Using Preview on Mac (Free, No Upload Required)
If you’re on a Mac, you already have a surprisingly capable PDF compressor built right in. Preview’s Quartz filter reduces file size significantly, though it can be aggressive with image quality — worth checking the result before sending.
- Open your PDF in Preview (double-click the file, or right-click → Open With → Preview).
- Click File in the menu bar, then select Export… (not “Export as PDF” — just “Export”).
- In the export dialog, set the Format dropdown to PDF.
- Click the Quartz Filter dropdown and select Reduce File Size.
- Give the file a new name so you don’t overwrite the original, then click Save.
💡 Tip: Preview’s Quartz filter can sometimes over-compress images, especially in scanned documents. Always open the result and zoom in on image-heavy pages before sending. If the quality looks off, try Smallpdf’s Basic setting instead — it tends to be more balanced.
Method 3: Use Adobe Acrobat Pro (Best Results, Paid Tool)
If you’re compressing PDFs regularly — or dealing with print-quality files that are 50 MB+ — Adobe Acrobat Pro is worth it. The control is unmatched. You can set exact image DPI targets, downsample specific types of content, and see an estimated file size before saving.
- Open your PDF in Adobe Acrobat Pro.
- Go to File → Save As Other → Reduced Size PDF for a quick one-click compression. This is fast and works well for most documents.
- For more control, go to File → Save As Other → Optimized PDF instead. This opens the PDF Optimizer panel.
- In the Optimizer, click Images in the left panel. Set Color Images downsampling to 150 ppi for email-quality output (300 ppi is print-quality and unnecessarily large for email).
- Click OK, choose a save location, and click Save.
📝 Note: Acrobat’s Reduced Size PDF option also lets you choose which version of Acrobat to make the file compatible with. Choosing “Acrobat 8 and later” removes some modern compression features but maximises compatibility for older systems. For standard email use, leave it at the default.
Method 4: Re-Export from Microsoft Word or Google Docs (Underrated Trick)
This step trips up a lot of people — they don’t realise that if the original document exists in Word or Google Docs format, re-exporting directly to PDF is often the cleanest compression you’ll find. It bypasses re-compressing an already-converted file and produces a leaner output from the source.
From Microsoft Word
- Open the original .docx file in Word.
- Go to File → Save As → PDF. In the Options dialog, select Minimum size (publishing online) under the Optimize for section.
- Save. This export mode targets screen resolution rather than print, cutting size dramatically.
From Google Docs
- Open the document in Google Docs.
- Go to File → Download → PDF Document (.pdf). Google Docs exports at a sensible compression level by default — usually well under 5 MB for text-heavy documents.
⚡ Quick Comparison: Which Method Should You Use?
| Situation | Best Method |
|---|---|
| Quick, non-sensitive file | Smallpdf or ILovePDF (Method 1) |
| Sensitive or confidential PDF | Preview on Mac (Method 2) or Acrobat (Method 3) |
| Large file, need precise control | Adobe Acrobat Pro Optimizer (Method 3) |
| Original source file exists in Word/Docs | Re-export from source (Method 4) |
| On a Mac, need local compression | Preview with Quartz Filter (Method 2) |
🚀 Pro Tips & Common Mistakes to Avoid
- Never compress a file that’s already been compressed. Running a PDF through a compressor twice degrades image quality without meaningfully reducing file size. Keep one clean original and always compress from that.
- Check the actual email attachment limit before compressing blindly. Gmail allows up to 25 MB, Outlook 20 MB, and Yahoo 25 MB. If you’re slightly over (say, 27 MB), a Basic compression pass is all you need. If you’re at 80 MB, you’ll need Strong — or consider sending via Google Drive or Dropbox link instead.
- Scanned PDFs are the biggest offenders — and the most compressible. A scanned page is essentially a photo stored inside a PDF. Compressors can cut scanned document sizes by 70–85% without visible loss. If your PDF is a scan, don’t be surprised if it goes from 40 MB down to 6 MB.
- Rename your compressed file. Something like Report_compressed.pdf or Invoice_email.pdf. You don’t want to accidentally send the wrong version — or overwrite your original.
- If file size is still too large after compression, use a file-sharing link. Upload to Google Drive or Dropbox and share the link instead of attaching. This sidesteps email limits entirely and is increasingly expected for large files anyway.
Smaller File, Same Content — Done
Compressing a PDF file size for email doesn’t require paid software or technical know-how. For most people, Smallpdf’s Basic setting handles it in under 30 seconds. If you’re on a Mac and working with sensitive documents, Preview is right there. And if you’re dealing with massive files regularly, Acrobat Pro’s optimizer gives you precise control that the free tools simply can’t match.
Once your PDFs are email-ready, you might also want to learn how to merge multiple PDFs into a single file — handy when you’re combining compressed pages from different sources before sending.